iClone3 Max Plug-in Quick Guide
Install the Plug-in
1. Extract the zip file to a temporary folder2. Put the "RLMaxExp" folder and iClone3MaxExp.dle into 3ds Max "plugins"
There are 4 files contained in this folder:3. Put IMGRT.dll in 3ds Max installation folder, the same place where 3dsmax.exe is located.
Profile_Human_Full.prf
Profile_Human_Gesture.prf
RLBoneFullG1.VNS
RLBoneGesture.vns
Note: Microsoft Visual C++ 2008 Redistributable Package (x86) and DirectX End-User Runtimes should be installed before running the plug-in. If you have iClone3 installed, you already have them in the your system. To get the installer, please visit Microsoft Download Center.
Quick Steps
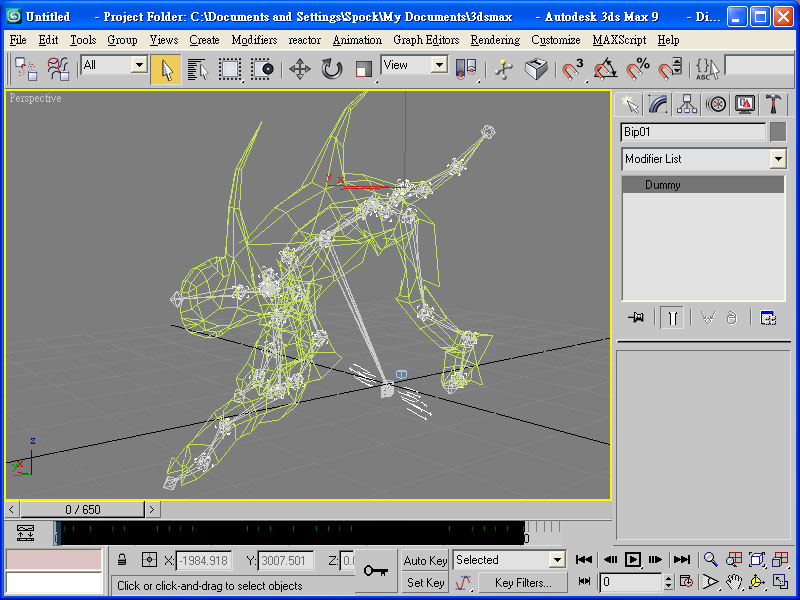
To export iClone3 data from 3ds Max, do the following: 1. Have the model/scene ready in 3ds Max.2. From the File Menu, choose “Export”.
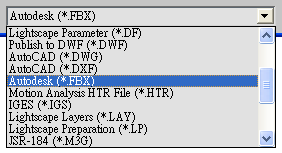
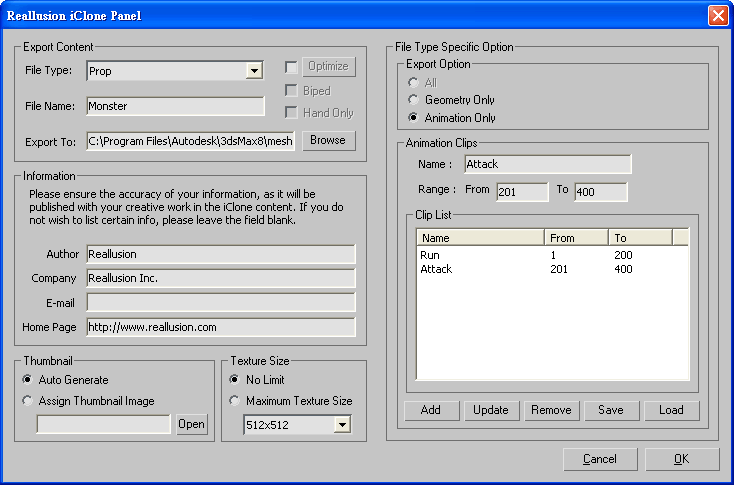
3. Change the file type to “iClone3 VNS”. Click "Save" button and the export panel shows up.
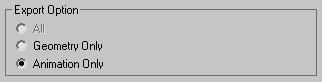
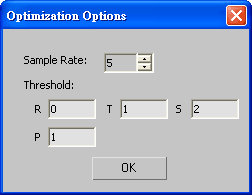
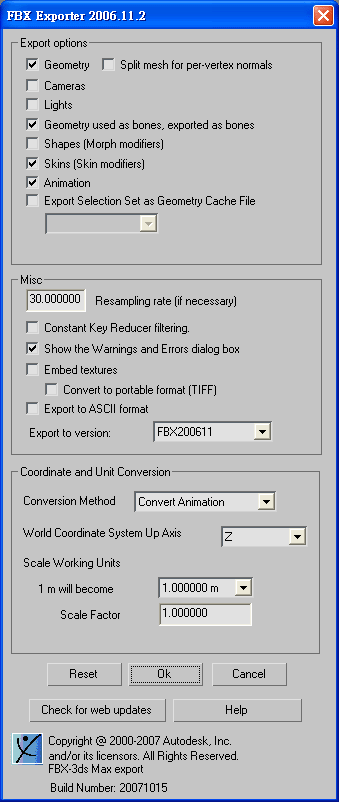
4. Select file type, set the export options.
5. Click "OK" button to export the content.
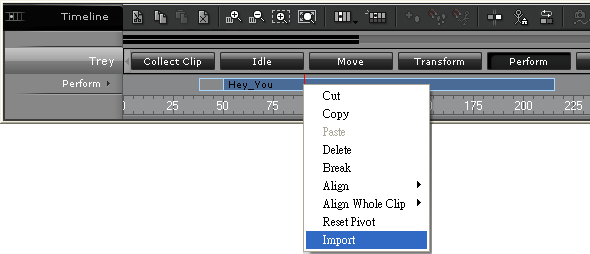
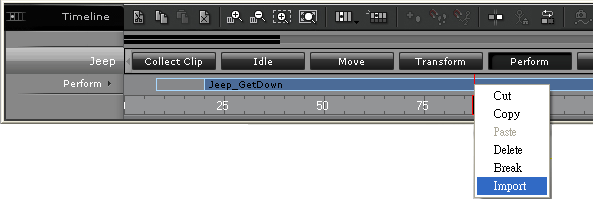
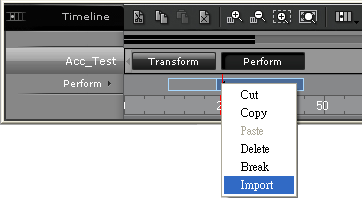
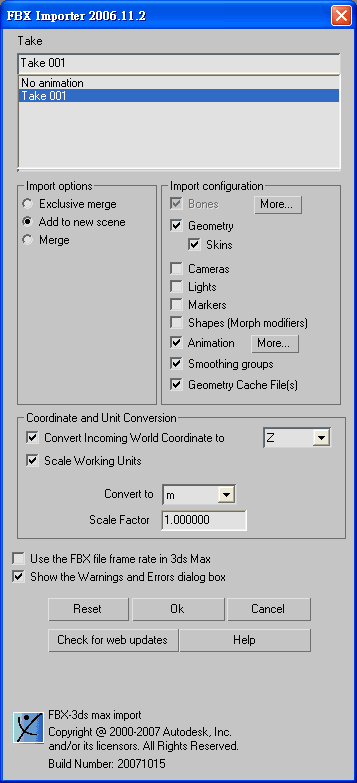
6. Import and check the content in iClone3.
UI Overview
The exporter interfaces are divided into the following groups:
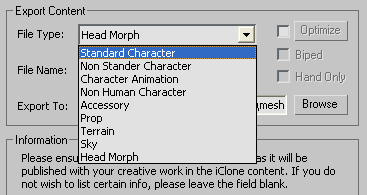
Export Content group:
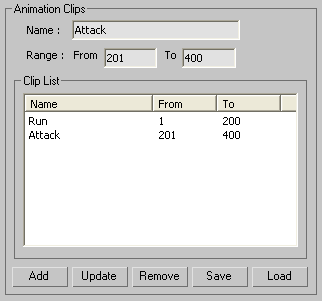
For selecting file types, assigning the file name and the destination folder. There are also options for data optimization, exporting Character Studio BIP animations and hand gestures. See Optimization and Character Studio session for more details.Information group:
This is where you can mark your work. This author information will be embedded into the content file for later retrieving .Thumbnail group:
Auto Generate: Use a default image as the thumbnail.Texture Size group:
Assign Thumbnail Images: Specify a thumbnail image to be used within iClone to identify your content.
No Limit: Allow the texture to be whatever size you have created.File Type Specific Option:
Maximum Texture Size: Limit the maximum size of the texture maps you have placed on the objects.
File type can expand to show some specific files. They are content types which may have animations, including "Character Animation", "Non-Human Character", "Accessory" and "Props". See Animation session for more details.