By opening the template and modifying the bones and meshes within 3ds Max 2010 or newer version, you can easily create your own custom G5 characters.
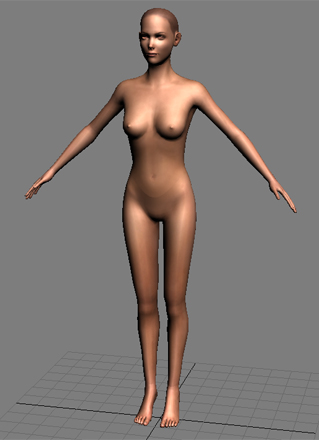
Producing a standard G5 character for use in iClone 5 is easier than ever. You do not need to create the body mesh and bone structure from scratch, which
saves you immeasurable amounts of time when it comes to character creation.
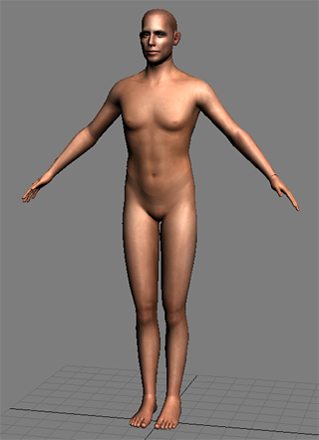
Reallusion provides two G5 character templates; one is standard male and the other is standard female.
By opening the template and modifying the bones and meshes within 3ds Max 2010 or newer version, you can easily create your own custom G5 characters.
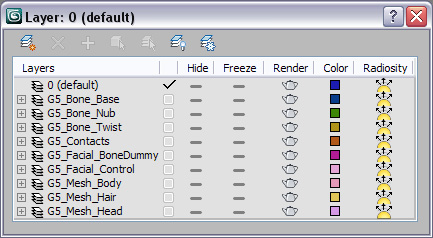
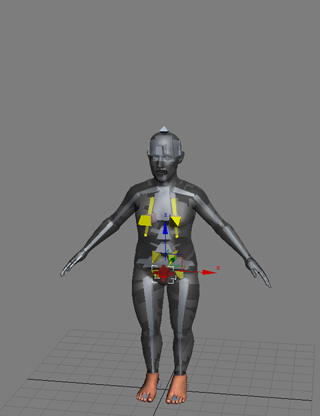
For the convenience of editing and viewing, the bone structure and the meshes of the characters in the templates are all distributed into different layers for distinction. You can show or hide the layers according to your editing needs.
|
|
|
|
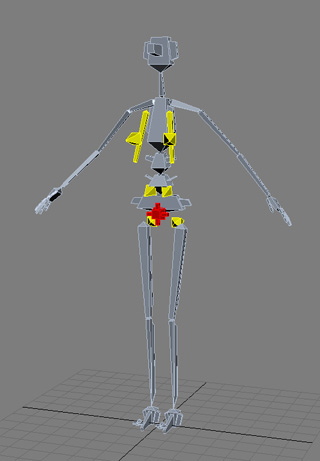
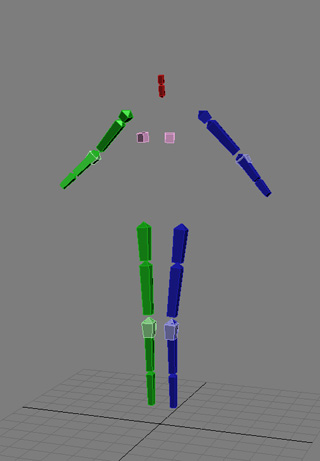
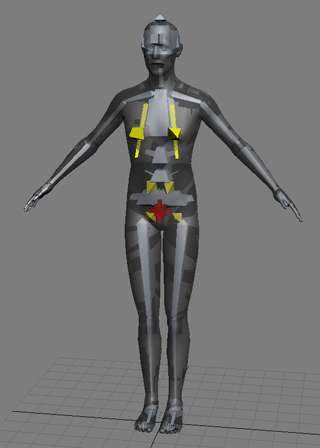
G5_Bone_Base: Contains all the base bones for setting character poses or adjusting the size of the body parts. |
G5_Bone_Twist: Contains all the twist bones that are used for outer mesh manipulation. |
G5_Bone_Nub: Contains all the end bones in the skeletal hierarchy. |
|
|
||
|
|
|
|
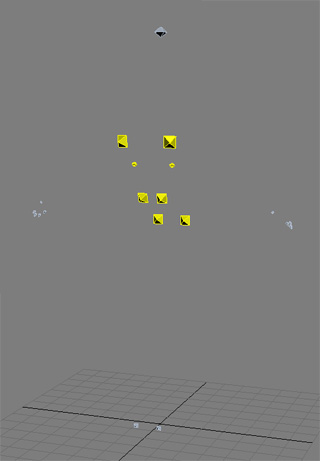
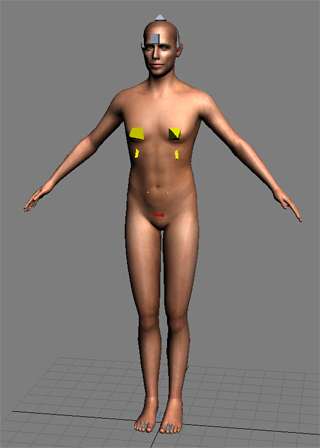
G5_Contacts: Contains all the contact markers and the position dummy for holding accessories. |
||
|
|
||
|
|
|
|
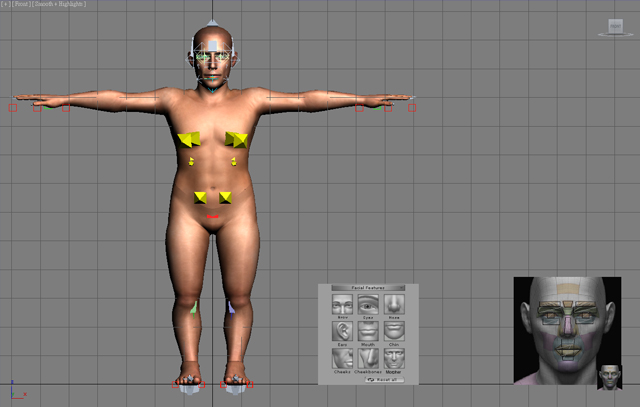
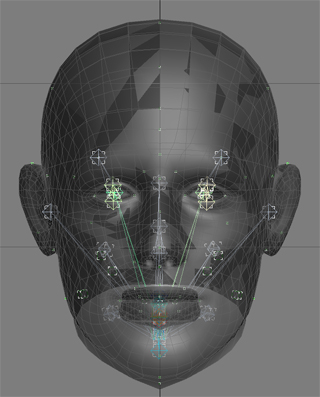
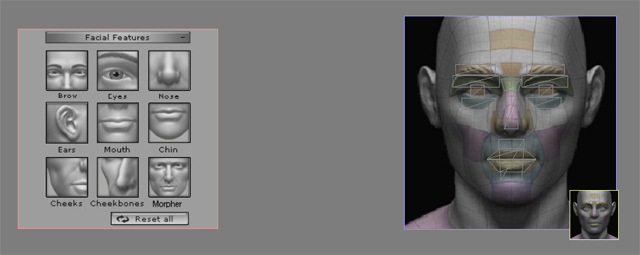
G5_Facial_BoneDummy: Contains all the facial bones for changing the facial features or making expressions. They are triggered to move by adjustments of the facial controls. |
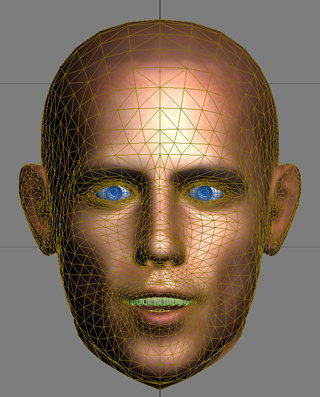
G5_Mesh_Head: Contains the head mesh for skinning. It includes the face, eyes, eyelashes, tongue, and teeth meshes. |
|
|
|
||
|
|
|
|
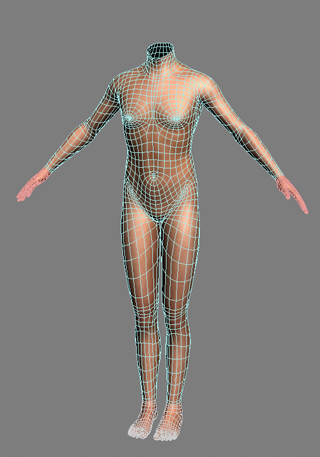
G5_Mesh_Body: Contains all the body part meshes, including the upper body, lower body, hands, and feet. |
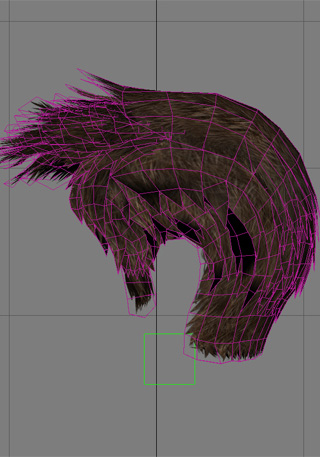
G5_Mesh_Hair: Contains the hair mesh for skinning. It also includes a position dummy. |
|
|
|
||
|
||
|
G5_Facial_Control: It contains all the controls that trigger the facial bones to move for generating various facial expressions. |
||
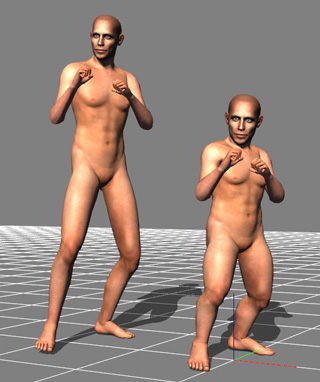
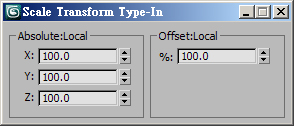
In addition to changing the proportions of the body parts in iClone 5, you can also perform the same task in 3ds Max 2010 to produce the same result. In the example provided here, you will learn how to change the default G5 male template into a short man by scaling the base bones of the character.
|
Note: |
|
|
RL_Hips |
(100, 100, 80) |
|
RL_Waist |
(80, 100, 100) |
|
RL_Spine01 |
(80, 100, 100) |
RL_Spine02 |
(80, 100, 90) |
|
|
RL_R/L_Ribs |
(80, 100, 100) |
RL_Neck |
(80, 100, 100) |
|
|
RL_R/L_Clavicle |
(80, 100, 100) |
RL_R/L_UpperArm |
(80, 100, 100) |
|
|
RL_R/L_Forearm |
(80, 100,100) |
RL_Pelvis |
(80, 100, 100) |
|
|
RL_R/L_Thigh |
(60, 100, 100) |
RL_R/L_Calf |
(60, 100, 100) |
|
|
|
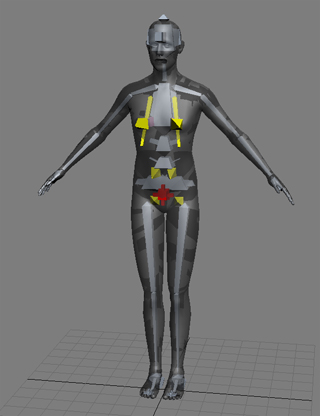
Before adjustments |
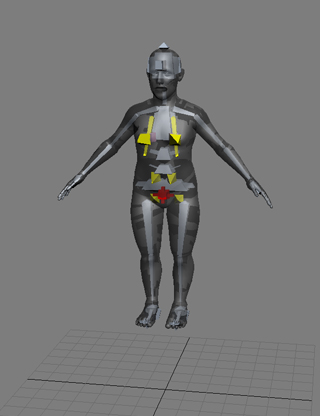
After adjustments |
|
|
|
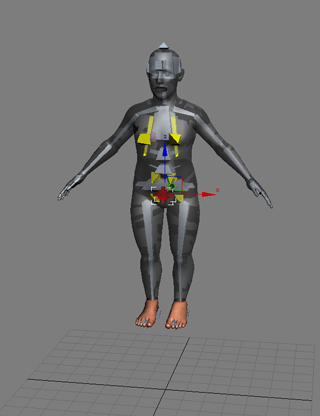
Before adjustments |
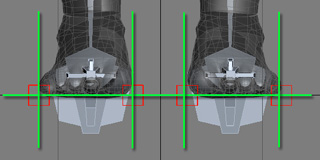
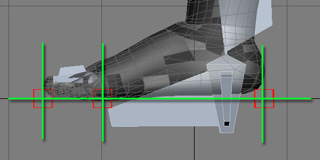
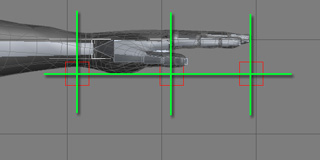
Move the RL_Hips down to make the feet snap on the ground. |
|
|

|
|