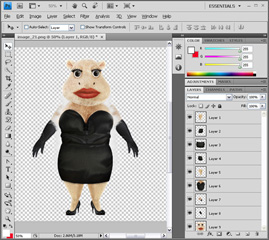
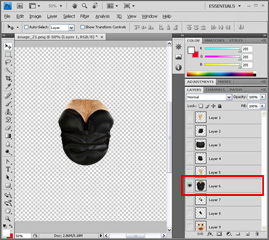

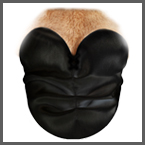
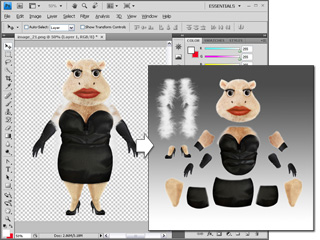
In order to have the best visual quality for the image-based body parts, you need to produce these body parts in an external image editor and pre-allocate the body parts.
CrazyTalk Animator supports these two image formats in which mask information can be kept. The benefit of using PNG or TGA is that these two formats keep the best quality for the gradient-matting feature edges.
The difference between them is how the mask information is stored in the files. It is highly recommended for you to produce PNG files since the method (describe above) is easier.
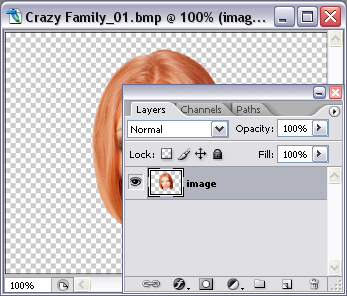
|
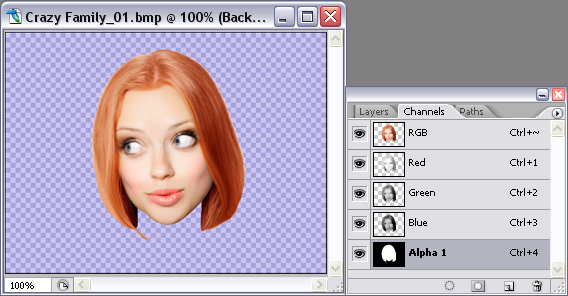
|
|
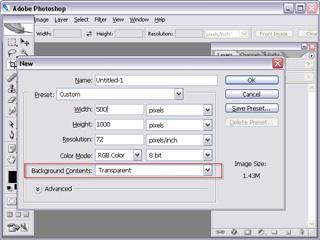
Using the PNG format, all you have to do is set a transparent background, paste the desired body part and export. |
Using the TGA format, you need to set a transparent background, AND manually create an alpha channel layer. Please remember to export TGA in 32 Bits to include the alpha information. |