Exporting with Reallusion's 3ds Max 2010 Plug-in

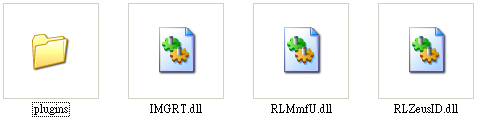
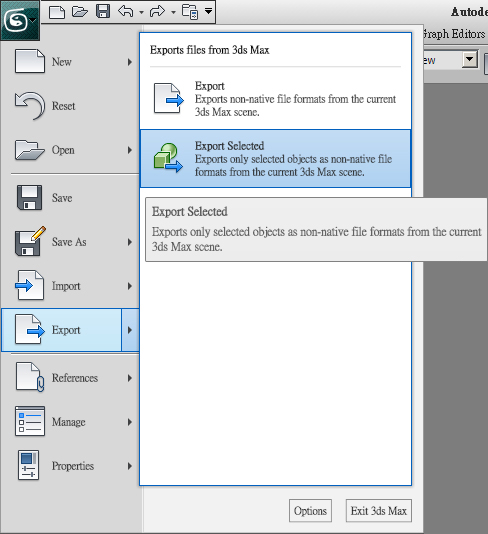
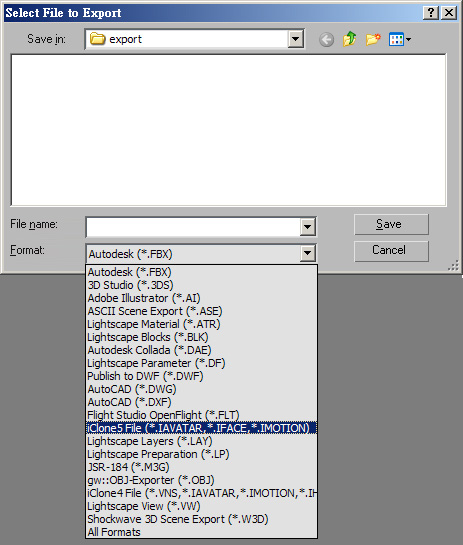
After having created a G5 standard or non-standard character, you can use the 3ds Max 2010 plug-in provided by Reallusion to export the character as an iClone compatible character.

Installing 3ds Max 2010 Plug-in

The best version to use for exporting characters is 3ds Max 2010 or any version above.

  1. Download the latest version of the plug-in.
  2. After you unzip the downloaded file, you will see the folder and files as shown below:
  3. Copy and paste the four items (overwrite the old ones if necessary) to the root folder where you have 3ds Max 2010 installed. By default, 3ds Max 2010 is installed in "C:\Program Files\Autodesk\3ds Max 2010\".

Exporting Characters from 3ds Max 2010

  1. Show all objects inside of the modified G5 character template.
  2. Hide the Facial Controls as shown below.
  3. Select all the rest of the items that are related to the character.
  4. It is highly recommended that you copy the T-pose keys at frame 500 to frame 0 as well, as the plug-in will export the character with a starting pose according to the pose at frame 0.
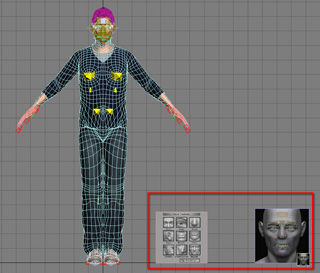
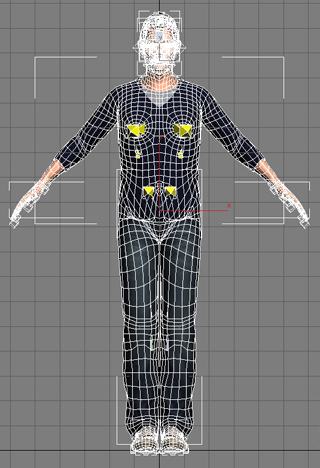
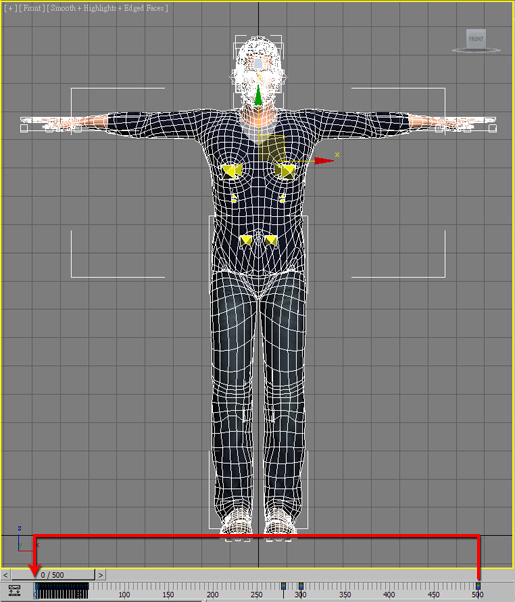
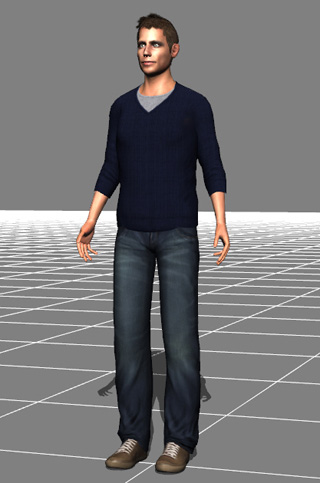
  5. Exporting your character with a T-pose helps to ensure the correctness of the gearing for the bones in iClone.

  6. Before exporting, make sure that the X, Y and Z Scale checkboxes in the Inherit section of the Link Info for each base bone are Disabled.
  7. Select Max main menu >> Export >> Export Selected.
  8. Choose the iClone5 File format.
  9. Adjust the settings as shown below:
  10. Click the OK button to export the character as an *.iAvatar file. Load the file into iClone 5.
  11. iClone will automatically assign a default pose for the character.

    Note:

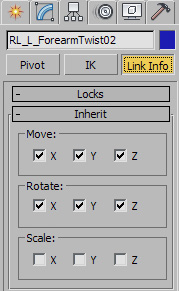
    The plug-in checks the entire skeleton hierarchy, the materials and mesh when it starts to export the character. It will pop up warning messages and information about the incorrect settings when it encounter any issues.