G3 Character are the characters with more refinement than the G2 Character. In this tutorial I'll guide you to spice up the G3 Character you can download to create an unique character of your own.
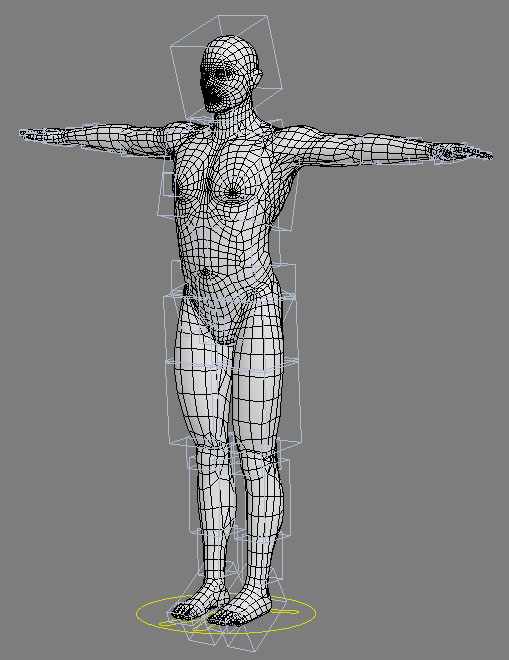
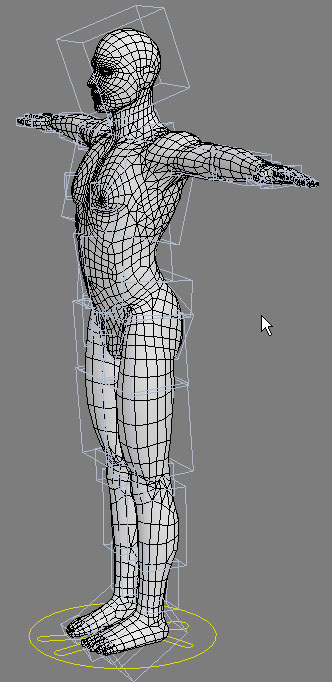
Compare the G3 and G2 character.
How to download G3 Character?
Anyone can get certified for publishing G2/G3 textures. You can apply for these powerful tools after your certified G2/G3 texture submission. Developer Center
G3 Character
- Launch 3ds Max. Import the file right into 3ds Max by drag and drop the max file.
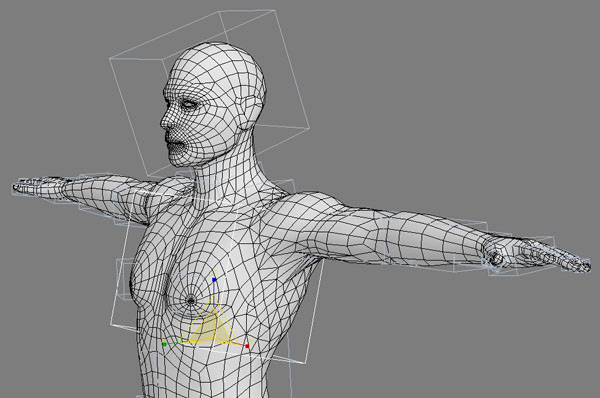
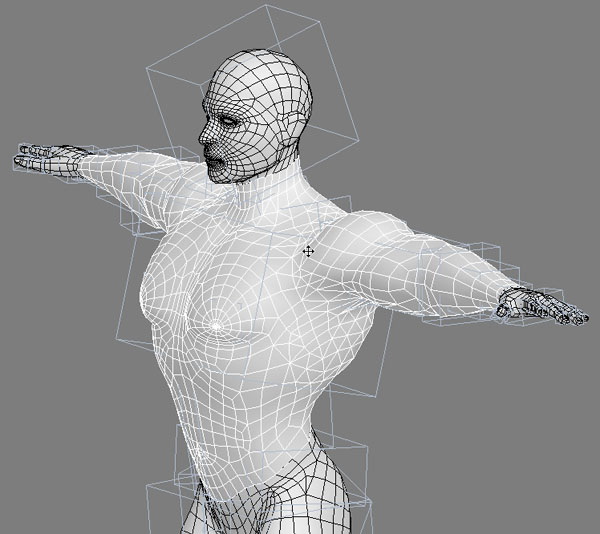
- Let's first transform the G3 character into a muscular superhero by scaling RL bones.
- Make sure you are in
"Scale" mode
 .
Switch the Reference Coordinate System to "Local"
.
Switch the Reference Coordinate System to "Local"
 .
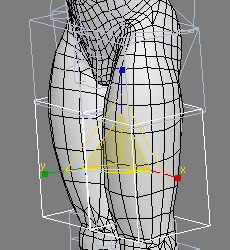
Now you can scale the RL bones' local axis instead in the world axis
of the parent. Scale RL bones with "Use Pivot Point Center"
.
Now you can scale the RL bones' local axis instead in the world axis
of the parent. Scale RL bones with "Use Pivot Point Center"
 in selection.
Note: You may scale multiple body parts by Ctrl clicking RL bones. It's useful while adjusting left and right limbs symmetrically at the same time.
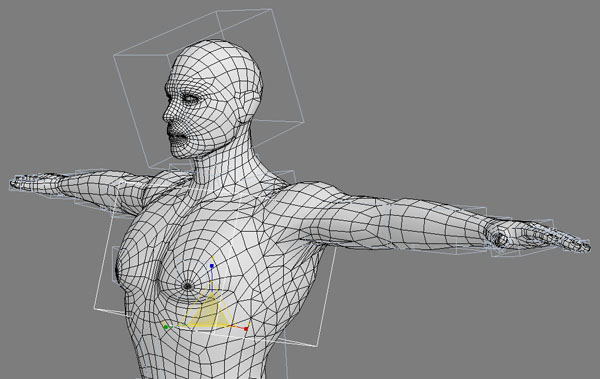
- Select the body parts you want to give a twist by clicking the RL bone. Scale the bones to deform the mesh and exaggerate the muscle bulge.
- Here is my character after adjusting the character's body.
 |
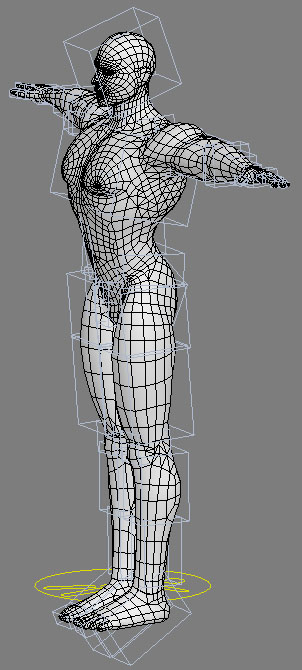 |
| Before | After |
Save Skin Weight
Save skin weight saves us a lot of time to apply and to adjust every single part of the body. By doing this we can easily load the weighting that has on the character after we converted into "Editable Poly".
- Select the upper torso.
- Select "Skin" in the "Modifier List".
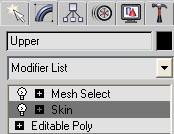
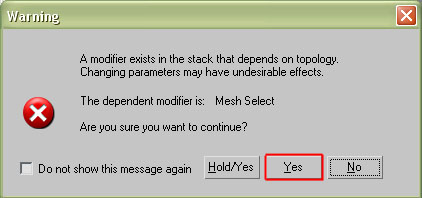
- When you see the warning box, click "YES".
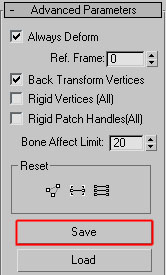
- Under the "Advanced Parameters" rollout. Click "Save". This now saves the skin of the selected body parts.
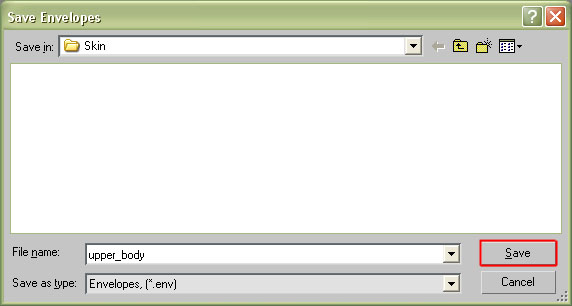
- Name the envelope "upper_torso". Click "Save".
- Save the envelope data for the other body
parts (Lower, hands, shoes).
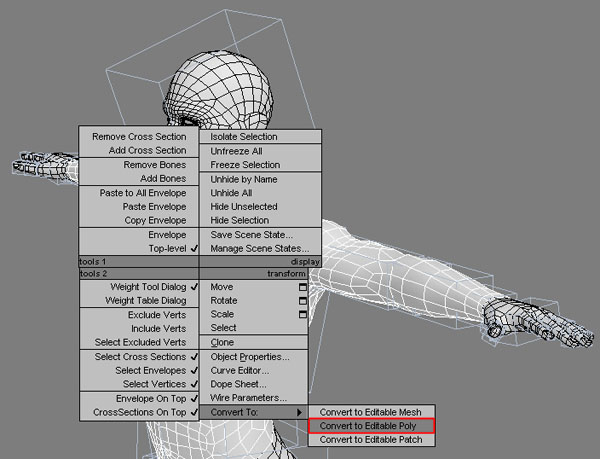
- Now you can convert all the body parts of the body to "Editable Poly".
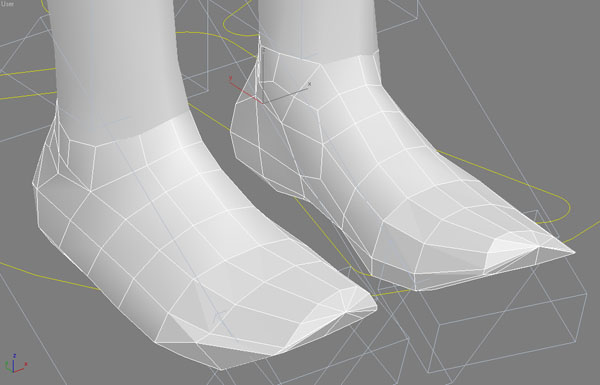
Transforming Foot into Shoes
Do hero walk with bare feet? Well... I am not sure about you, but I am sure I do not want my hero to walk with bare feet. Let's create shoes for our hero.
- Make sure the shoes model has been converted into ""Editable Poly".
- Under the "Modifier List" panel. Select "Polygon" in the "Editable Poly" expansion list, or turn on "Polygon" sub-object level.
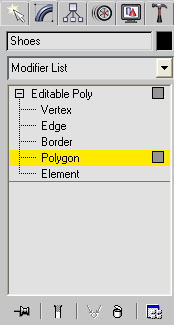
![]()
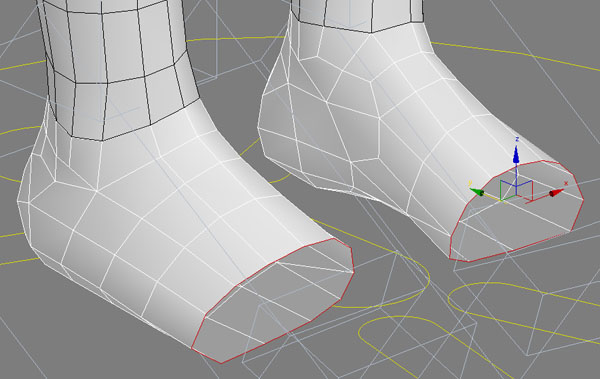
- In the viewport region, select the polygons of both foot you want to modify.
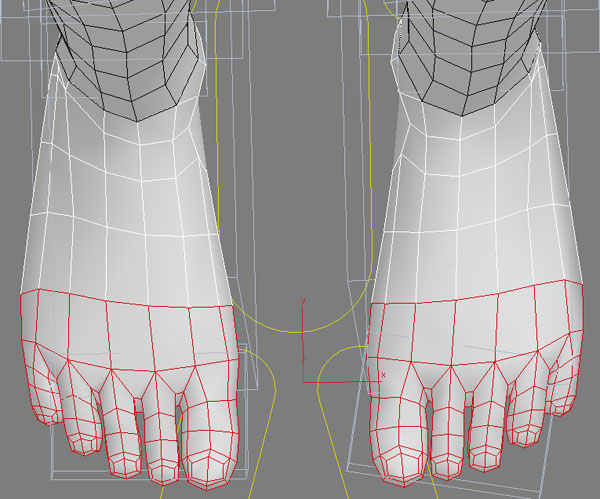
- Delete the polygon of the toes.
- Turns on "Border" sub-object level. This mode allows you to select a sequence of edges. When you have select edges with this mode this always select with a complete loop.
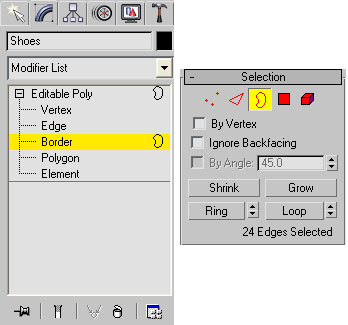
- Select the border for both foot.
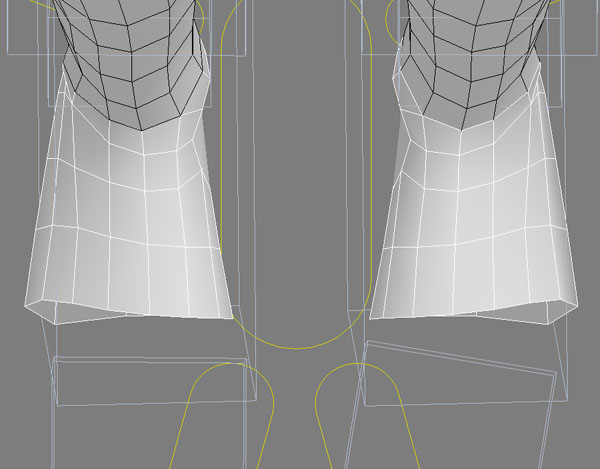
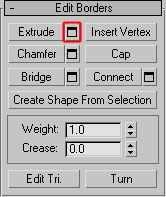
- Click "Extrude" under the "Edit Borders" rollout to make an extrusion of the polygons.
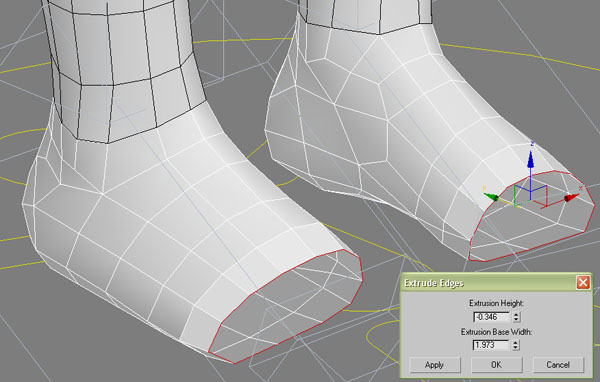
- The "Extrude Edges" menu pops up. Adjust both "Extrusion Height" and "Extrusion Base Width" to apply.
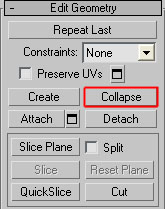
- Use the move tool and the scale tool to position the borders. Extrude and shape the foot again and again to fine-tune both foot. After you have position all the borders. The last step is to close the open border one by one with the "Collapse" tool under the "Edit Geometry" rollout.
- Here are the shoes of my superhero.
Create G3 Character
- Modify Model
- Add Accessories to the Superhero
- Attach the Accessories to the Character
- Apply Material to the Character