Creature Base
What is a Creature Base?
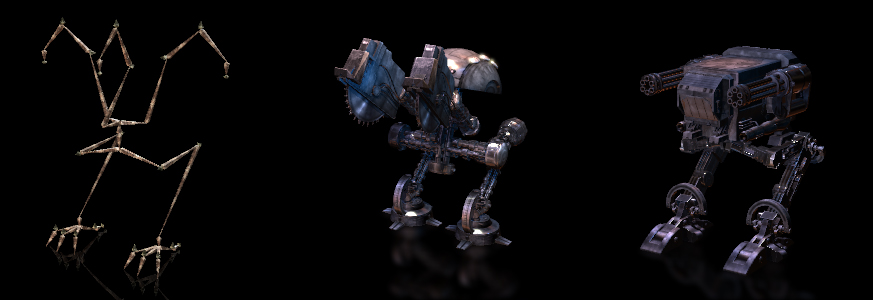
Creature Bases are skeletal-like characters on which you can attach components or body parts to make a robot or a monster.
It's a similar idea as
CloneBone but the bone structure is not limited to iClone standard character bones.
You may create skeletons of any forms for all kind of real and/or imaginary
creatures.
Creature Bases work like all Non-Human Characters in iClone, you
may attach accessories to them, edit their poses and
animations, even have characters interact with your creature bases!

You may
visit
Sci-Fi Robots to get more information about the pack.
How to build your Creature Base Non-Human Characters?
Now we
will show you the process to build your "Creature Base" Non-Human
Characters from 3Ds Max into iClone. Here is an example from "Sci-Fi Robots & Machines" Creature Bases.
First
of all, you have to sketch the front and side views of designed
Non-Human Character.
It's always better to design first on paper or in any
image editor.
Sketch the front and side views of designed
Non-Human Character.
In
this case, we suggest that you should get ready with a mapped image
plane for
reference.
In 3ds Max, map the sketch images to the corresponding planes for bone building reference.
Start with creating bones
There are four keys we
must take care before starting.
A. Local
Axis of Pelvis
B. Decide Mirror Plane
C. Rules
of Spine Bones
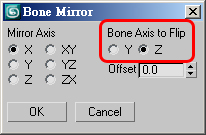
D. Mirror tools of Bones
A. Local Axis of Pelvis
First start with creating the Pelvis Bone. In this case, we are going
to use a Point Helper as the the Pelvis Bone.
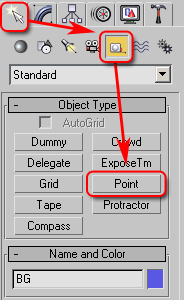
Open "Helpers" floater under "Create"
toolbar. Press
the “Point”
button, then click in the
Perspective
viewport to create it for center of iBlock. Right-click to end Pelvis
Bone creation, and name this Pelvis Bone “Center”.
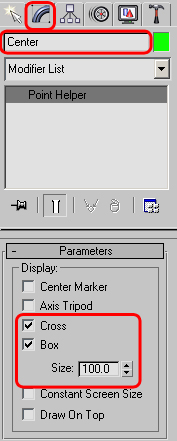
It
is important that the axis of Pelvis Bone must be aligned to the World Axis
in local space because baking animation is based on Z-up
transformation in 3Ds Max. You may not create this Pelvis Bone at
simple situation, just like the
older pipeline of Non-Human Character.
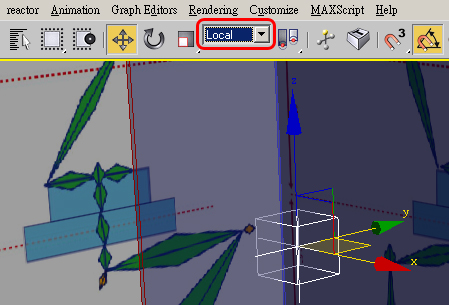
B. Decide Mirror Plane
If you want the Non-Human
Character to do a perfect mirror control of IK and FK, the following concept
should be kept in mind. The reason is that iBlock is a symmetrical model
base on the right and left symmetry. Thus the process for creating the Spine
Bones must be in the Right or
Left viewport. (The symmetrical plane is colored in blue,
the right side in green and left side in red.).
Let's
start to build hierarchy bones of the iBlock in the Right viewport.
You should be familiar with Bone
tools in 3DsMax.
C. Rules of Spine Bones
First, start from Pelvis Bone to construct the upward and downward
Spine Bones. Please make sure that the local XY-plane of Spine Bones is
parallel with Mirror plane.
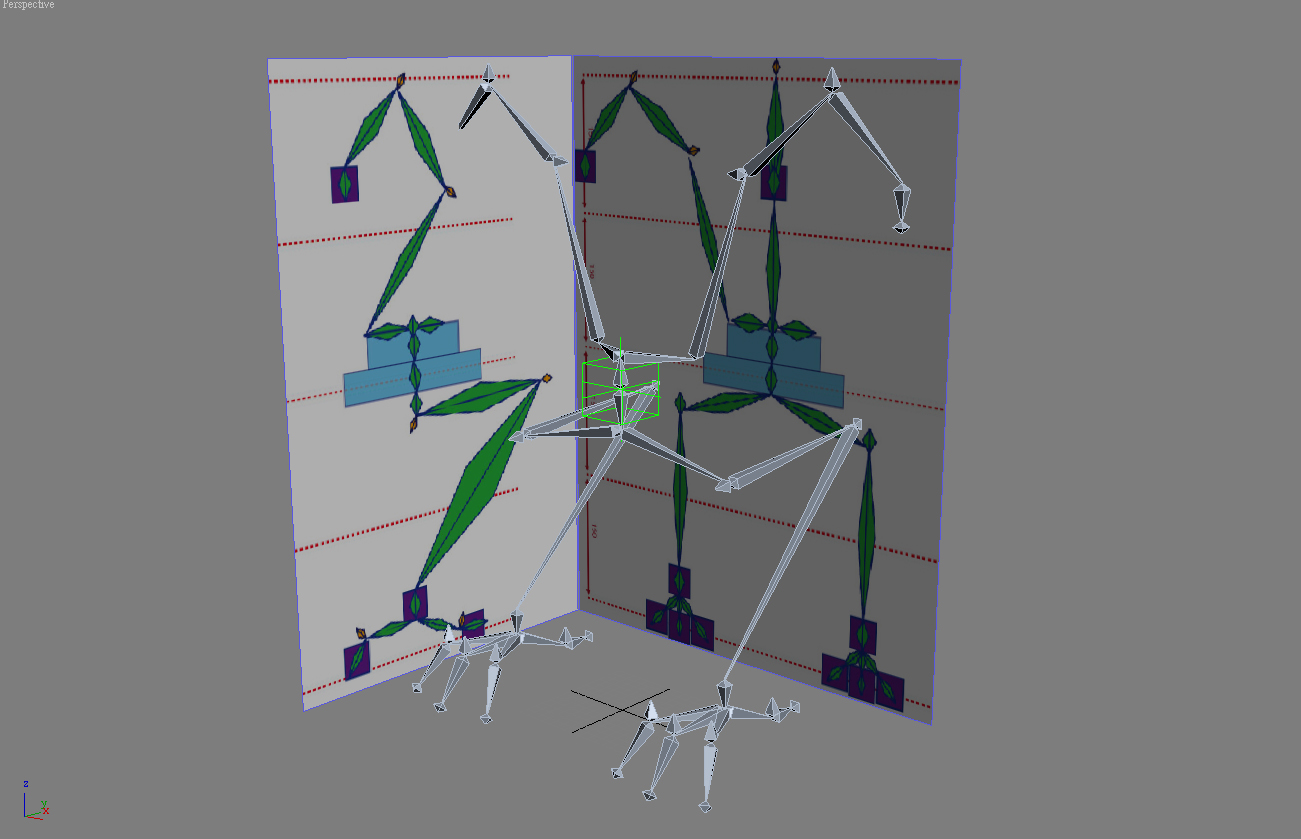
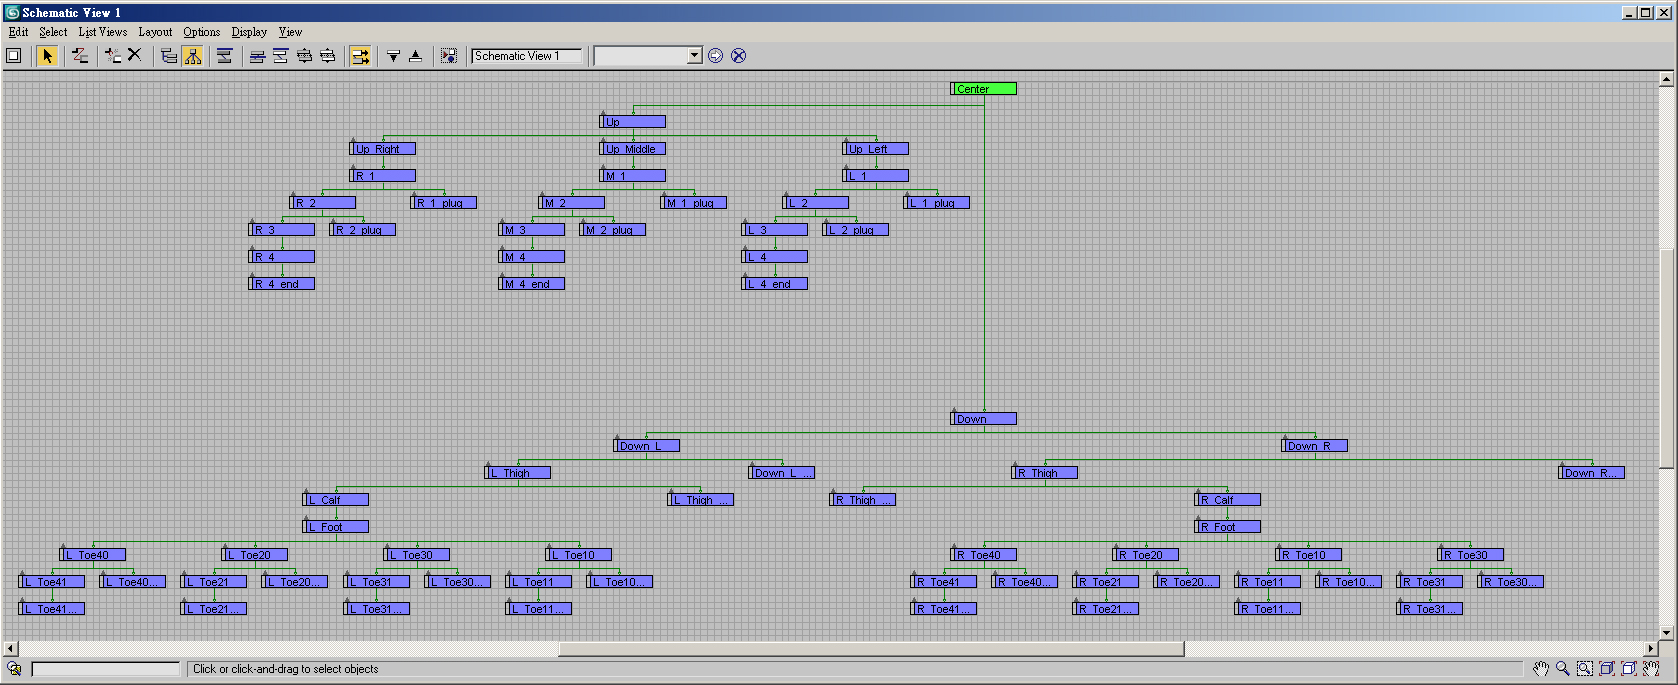
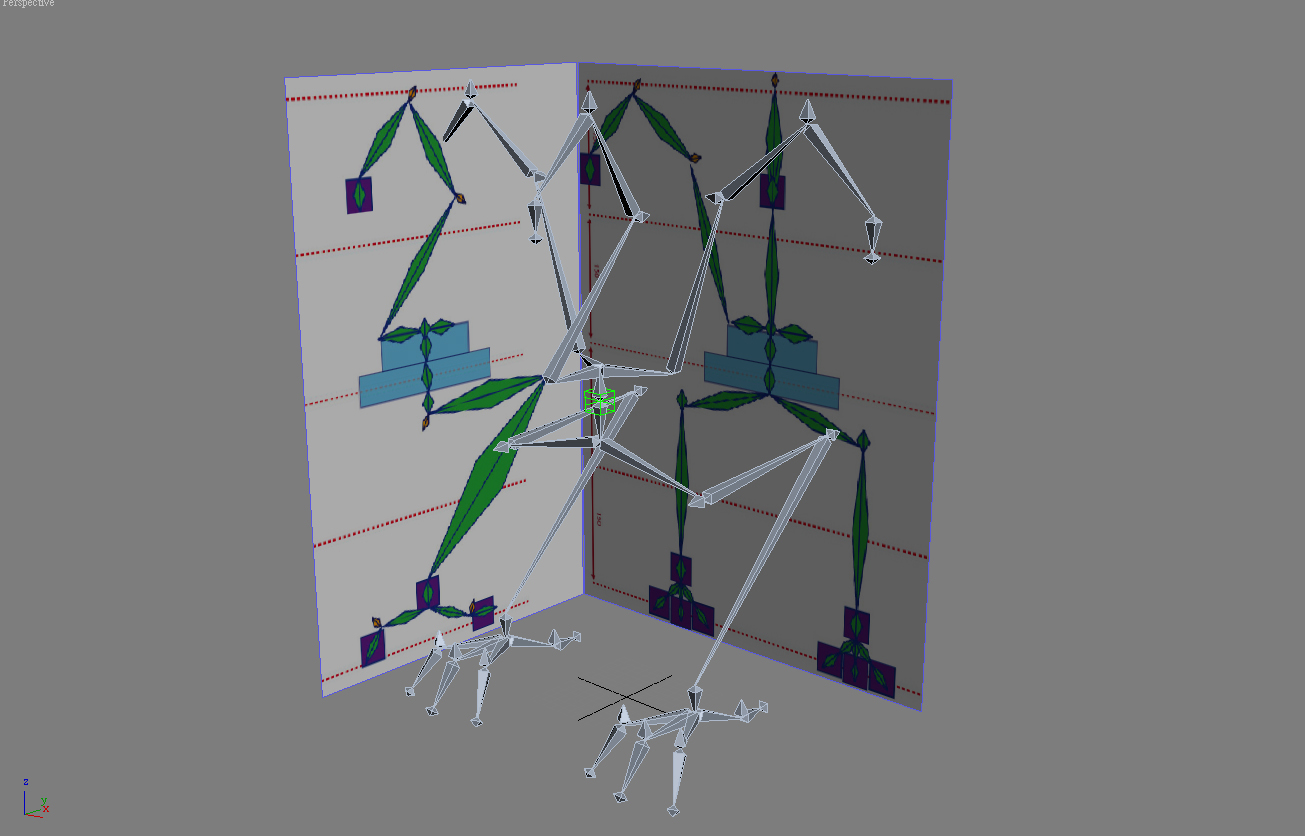
Create the left part of leg and upper bones. Starting from the same direction of each Spine Bone.
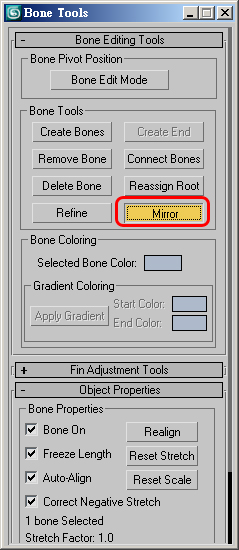
This section is to
create the mesh model because bones aren't rendered in iClone viewport.
We have to connect with appearance mesh and bones by skinning modify.
The appearance mesh could be designed to your favorite.
There are a few key thoughts to keep in mind before skinning.
A. All body mesh must be a
single one
B. Initialize Mesh Model
C. Reset pivot of Mesh
1. Before a mesh model for this iBlock is ready to skin, it is important that Transform/Rotate/Scale of this mesh must be initialized.
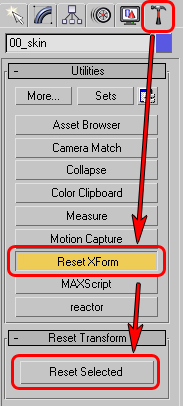
2. Open ”Reset XForm” floater under “Utilities” toolbar. Press the “Reset Selected” button to initialize before selecting the mesh model.
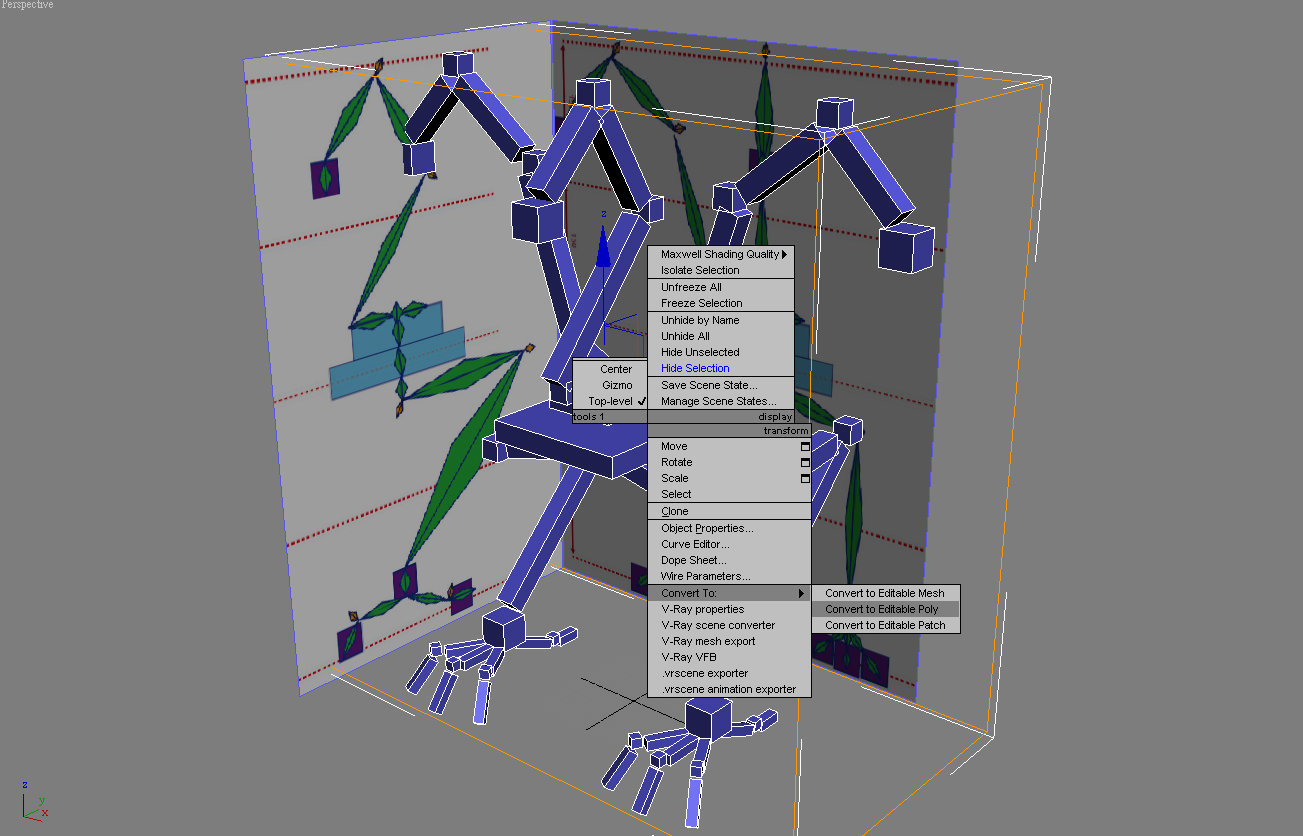
3. Right-click on the iBlock, select "Convert
To" > "Convert to Editable Poly" to convert the
model into Editable Poly.
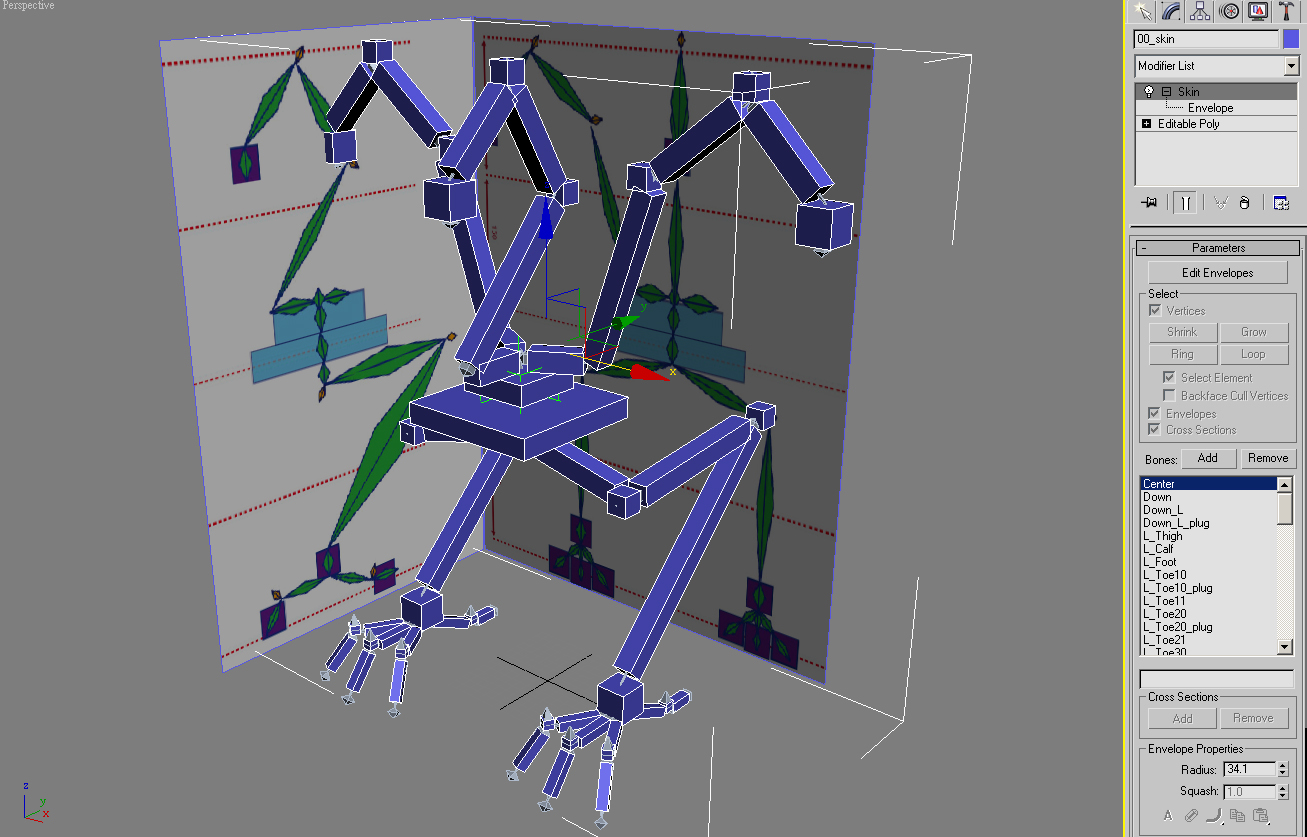
4. Add to edit skin modify of the mesh
with all
bones after adjust the pivot of model is align to the center of the
iBlock.
5. Delete the mapped planes for
reference, then save this model with skin and bones. Name this 3Ds
Max
File " 00_biped_export .max" and ready
to export for iClone.
Export the Model from 3DsMax
Now You may export this iBlock character and
test the motion editing capability in iClone.
About how to export an
Non-Human Character and build its *.ini file. Please refer to Export the Model and Definition
of *.ini file.
If you are still not sure how to build the ini
file. Here are the files for you to download.
Download iBlock.iAvatar & iBlocl.ini at
the same folder.
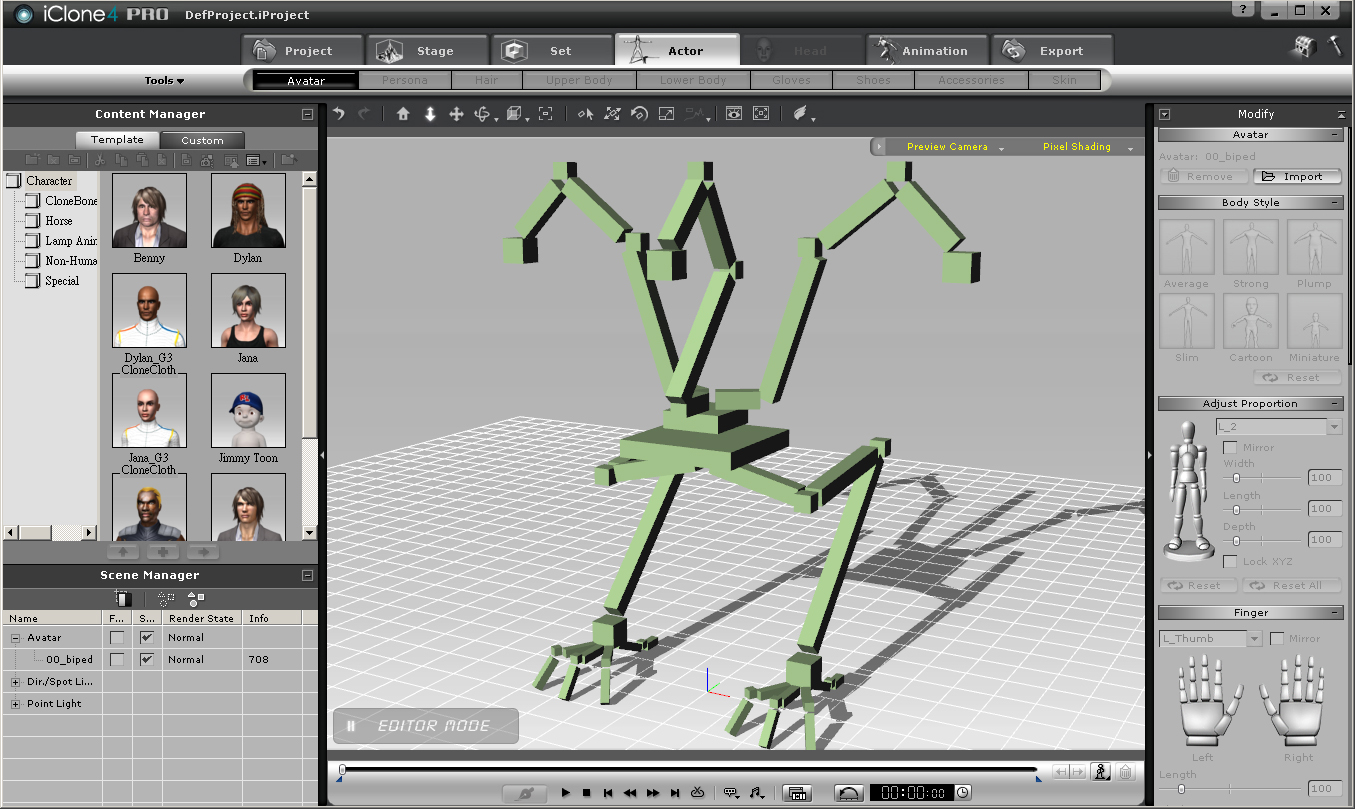
The following sessions will show you the process for rigging, animating and baking animations for the iBlock character.
Create rigging
for animating the character
It will be easier to animate
the character in 3Ds Max when the rigging of bones is useful.
Rigging a character is a
major topic and is impossible to be covered in this tutorial, please refer to
tutorials of 3D total.
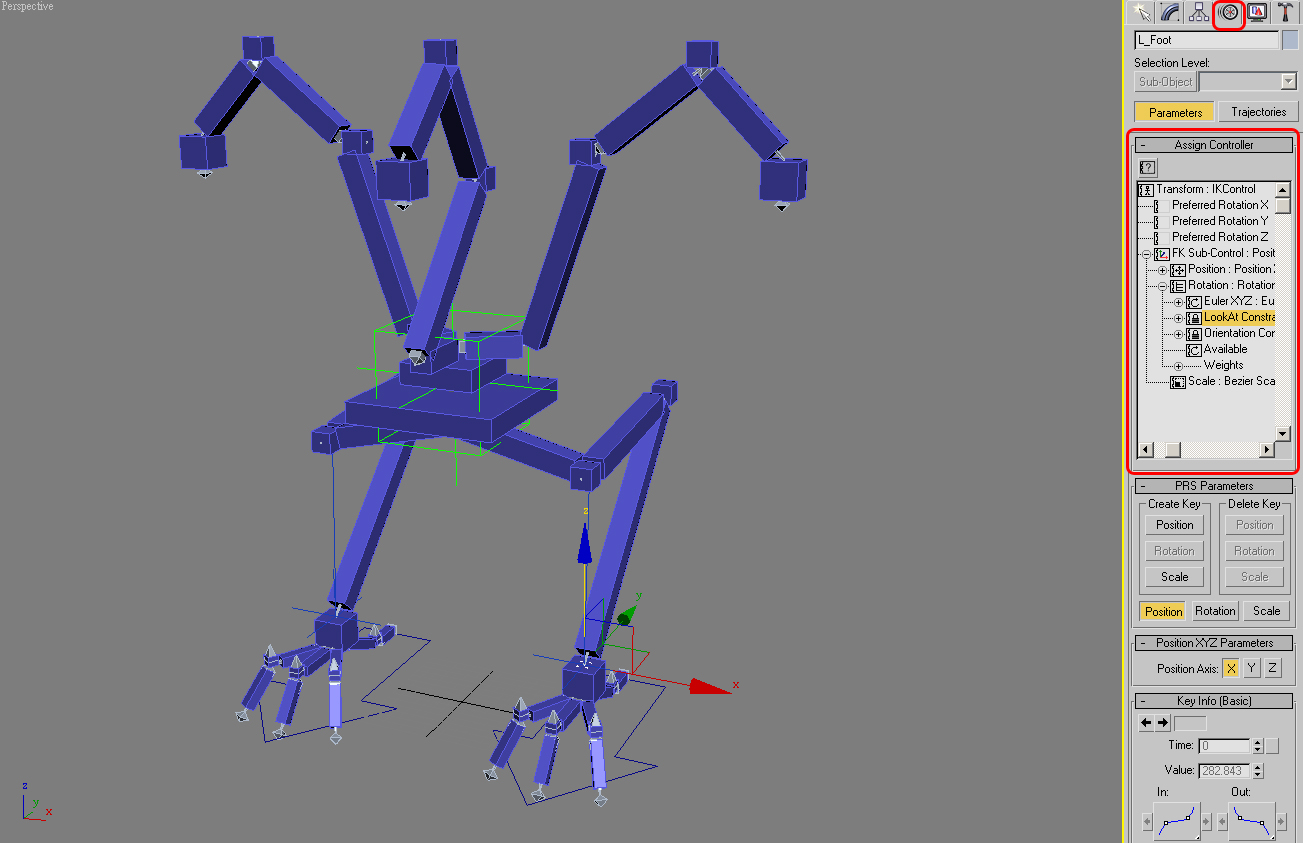
In this case, we set up some
controllers for this iBlock as in "
00_biped_rigged.max".
These controllers include simple IK, FK
and Footstep system made by "Look At
Constraint" and "Orientation
Constraint".
You could build them on Motion control panel of 3ds Max.
Export animated bones from 3Ds Max
After animating the rigged iBlock by using controllers, save this
3DsMax file, as in "00_biped_animation.max".
It can't directly export
animations to *.iMotion
for iClone because iClone exporter can't translate animated keys
of these controllers.
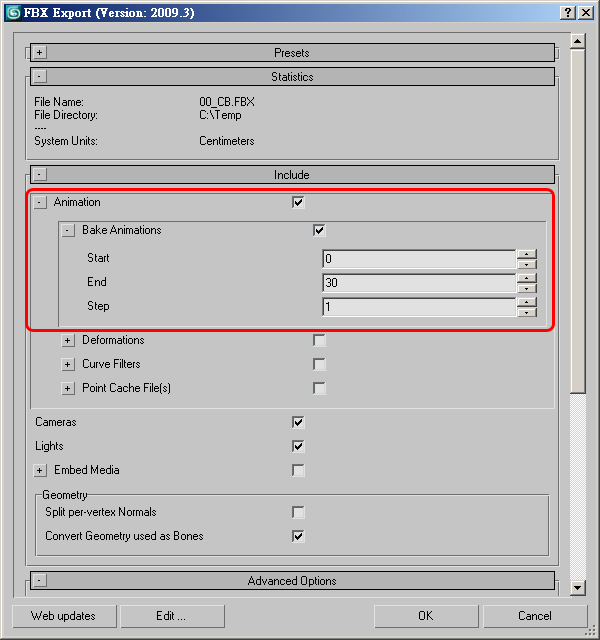
We have to bake animations through Collapse of transformation in FBX, then
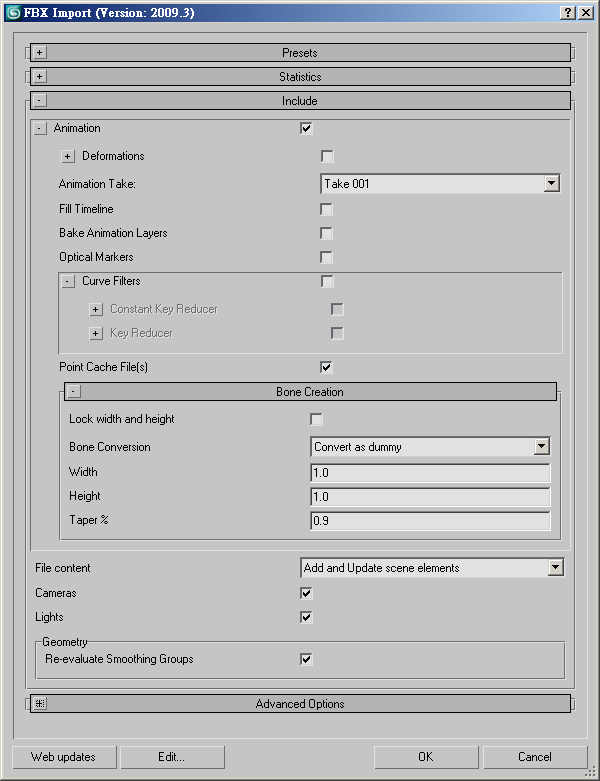
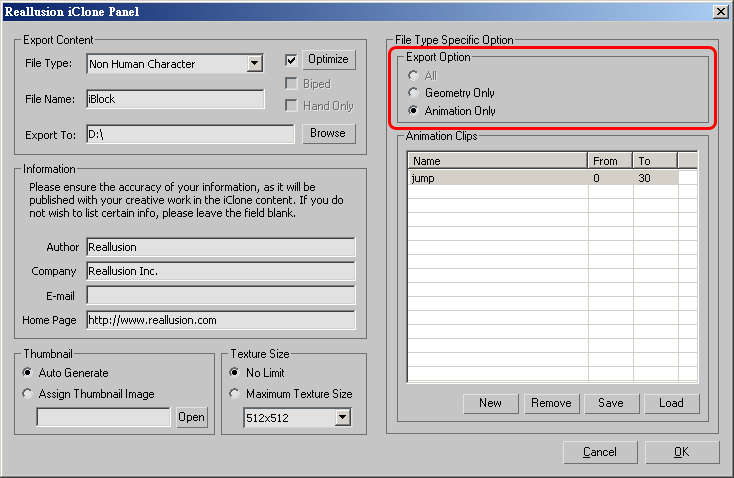
reload this FBX file to export iMotion with the same hierarchy.
Over step by step:
1. Install the last version of FBX exporter for 3DsMax. (FBX verson 2009.3 or updated )
2. Select all bones
except the mesh and controllers at animated 3Ds Max file "00_biped_animation.max".
Press "File" > "Export Selected" to save this
hierarchy bones as FBX format.

3. Please follow
the settings in the image above when exporting.
