Export the Model
Export the Model from 3ds Max
You may either animate the Donkey in 3ds Max then export the animation clips with it, or animate the Donkey later in iClone3. In this tutorial, we will just export the rigged model.
- Everything is now set for the model. Now we can export the model and ready to import into iClone.
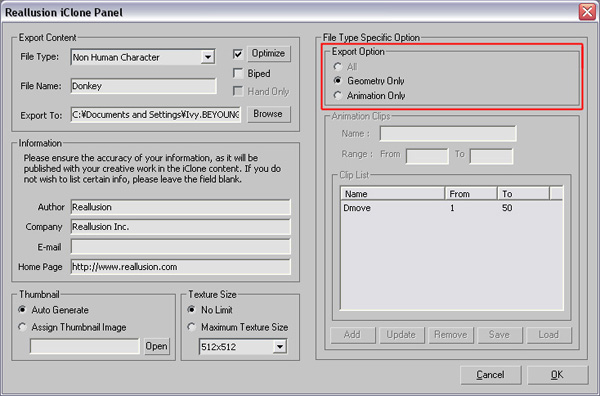
- Go to "File > Export".
- Have "Non Human Character" in selection.
- Export with the "Geometry Only" selected.
Prepare INI File
Since we are using 3ds Max bone system but not RL bones, we need to prepare an ini file for the custom bones to match up with the iClone bone system for IK to function properly in iClone.
- Name the ini file the same name as the character iAvatar file. (e.g. Donkey.iAvatar and Donkey.ini)
- Place the ini file under the same directory as the model directory.
- The ini file defines IK bones for the Character in iClone.
About how to build up an Non-Human Character ini file. Please refer to Quick Guide.
If you are still not sure how to build the ini file. Here are the files for you to download.
Download: Donkey.iAvatar & Donkey.ini
Import Non-Human Character into iClone3
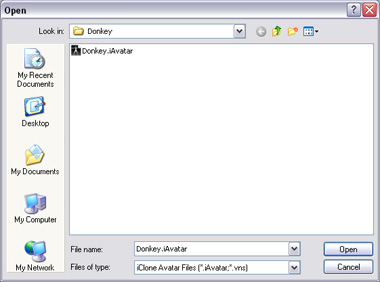
- In iClone3, go to "Actor" > "Avatar" > "Modify" Panel.
- Click on "Import" Avatar to import the Donkey right into iClone3.
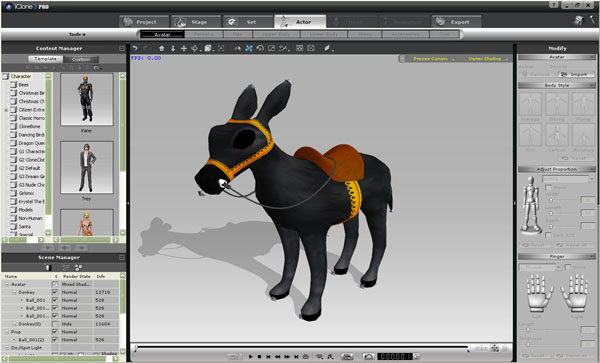
- Now the Donkey is right in iClone3 ready for us to use the animation system in iClone3.
Add the Model to Custom Character Template
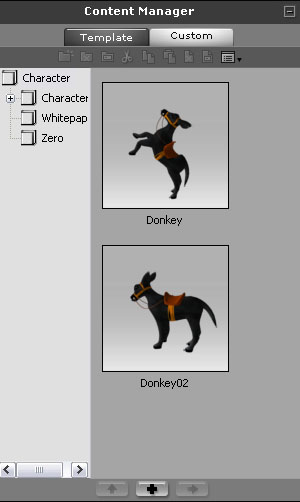
- Have the model selected.
- Click "Add"
button to add the model
right into your Avatar Custom Folder in Content Manager.
Animate the Donkey - Motion Editing (IK/FK)
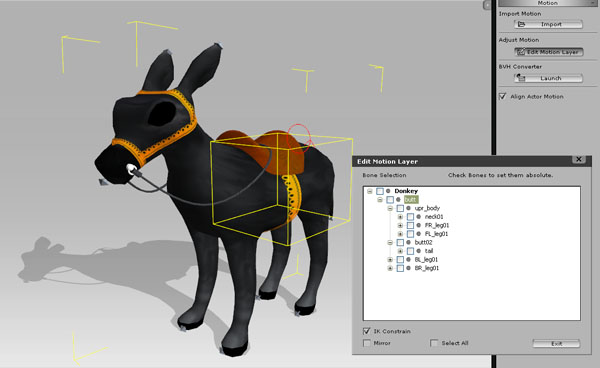
- Right-click on the Donkey to open the right-click menu, browse to the "Motion Menu" > "Edit Motion" to enter motion editing mode.
- Another way is to click on the "Animation" > "Motion" > "Edit Motion Layer" to launch the menu.

-
You can either select
bones by clicking the donkey model in the 3d scene, or select bones
from Bone Selection list.
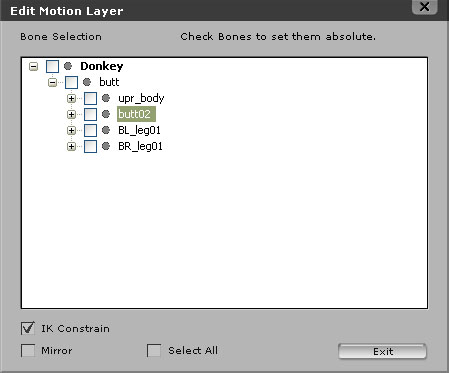
- In the viewport, the selected bone is highlighted with the bone rotation axis. (when you are using "Rotate" tool)
Please refer to iClone3 online help for more information about IK and FK motion editing.
Collect Clips
- In iClone3, we can collect keys and compress it into a whole new motion.
- All the keys you animated will be shown in the "Motion Layer" track.
![]()
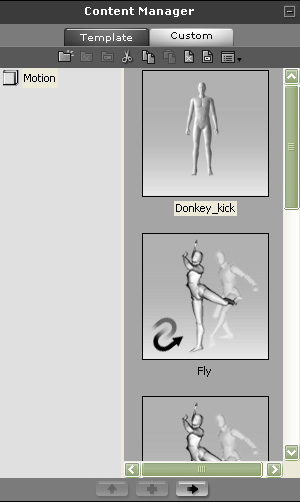
- Now we want to compress the keys into an animation clip. Open up both "Collect Clip" and "Motion Layer" tracks. Highlight all the keys to compress and right-click for "Add to Library" button and save your motion into the custom motion folder, "C:\Program Files\Reallusion\iClone 3\Template\iClone Template\Motion".

- Want to apply the motion you just collected? First, have the Donkey selected and delete all the motion layer keys.

- Go to "Animation" > "Motion" > "Custom" to apply the motion.
- Here is the final look of Donkey. After the motion is applied.
Create Non-Human Character
- Prepare the Model
- Start with the Rigging
- Export the Model