Apply Material to the Character
- Click the "Material
Editor"
 .
. - Select one of the empty slot.

- Rename the material to "Upper".

- Adjust the color and specularity of the material. Here we prepare a shining blue material for the upper suit.
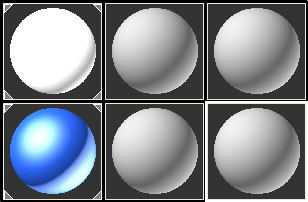

- Select "Element" under the Editable Poly expanding list.

- Select the body parts or accessories you want to apply the material.

- Drag the color from the material slot to apply onto the selected body part.

- "Upper" material applied to the character.
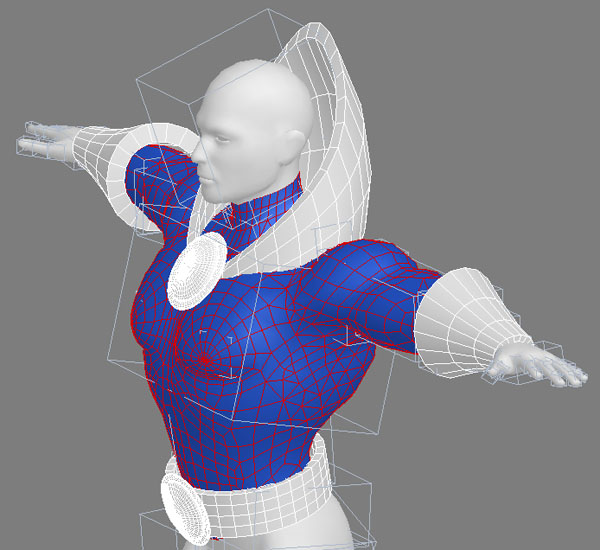
- Select another material slot to set the color of Gold.
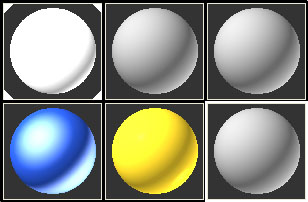
- Apply the Gold material to the accessories.

- Pick another slot to set the for the shining, glowing orb and the belt buckle, then apply them.

- Let's
prepare materials for other body parts of the character.
Drag and copy the "Upper" material to a new material channel and rename it as "Lower". Do the same to create a new material channel for the "Shoes".
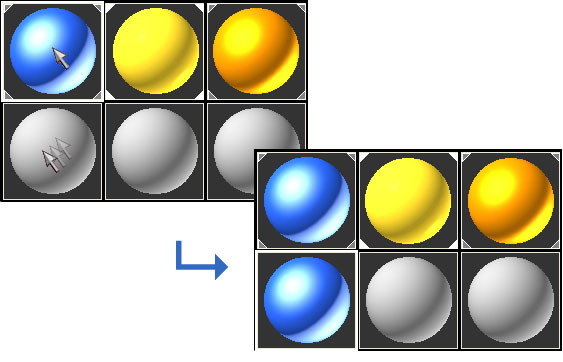
Apply these materials to the character respectively.
Export into iClone3
- Go to File > Export. Select iClone3 file as the file type to export.
- Name the model "Superhero" and save.
- Choose "Standard Character" as the File Type.
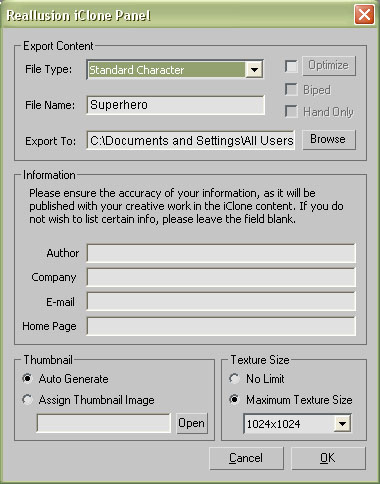
- In the "Export To" section browse to the directory, "C:\Documents and Settings\All Users\Documents\Reallusion\Custom\iClone 3 Custom\Character", iClone3 Custom folder. This allows you to access to this character when you are in iClone3.
Import into iClone3
In iClone3, you may change the head, the hair or attach any extra accessories to the character.
- Open iClone3.
- Go to "Actor" > "Avatar". Select "Superhero" under Custom Template.

- You can simply change the material properties if you are not satisfied.
- Pick the body part you want to change the material.
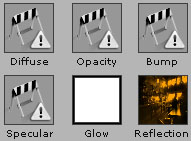
- Under the "Material & Texture Settings" panel click the material picker
.
- Pick the body material or the accessory material to access to the selected material property. Now I'll pick the upper glowing badge. When I am successfully picked the item, the material channels will show the selected item.
- Pick "Glow" material channel to adjust the parameters.
- Adjust the colors for the selected "Glow" channel.
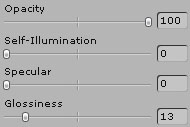
- Use the slider to adjust the strength of each parameter.
- Now the character is in iClone3. We can simply attach various items onto him. Go to "Actor" > "Hair" and select a hair for you character.
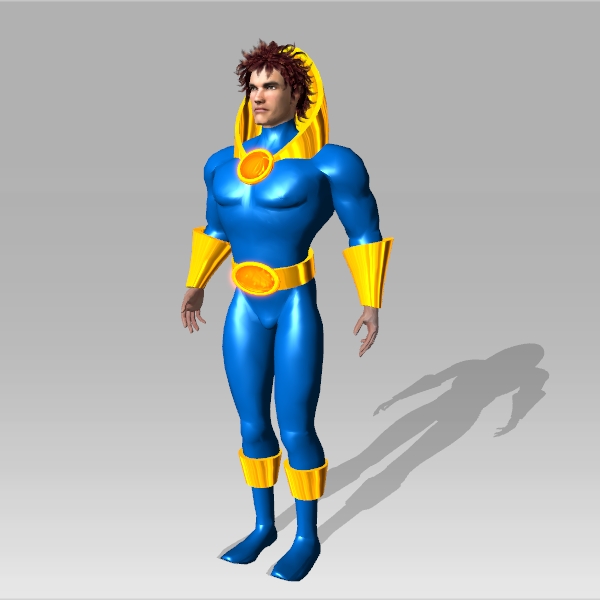
- Create a cape for the character. Go to "Set" > "Props". Open "Flex Base" under Content Manager Template and choose "Cloth1line". Now, position the cape.
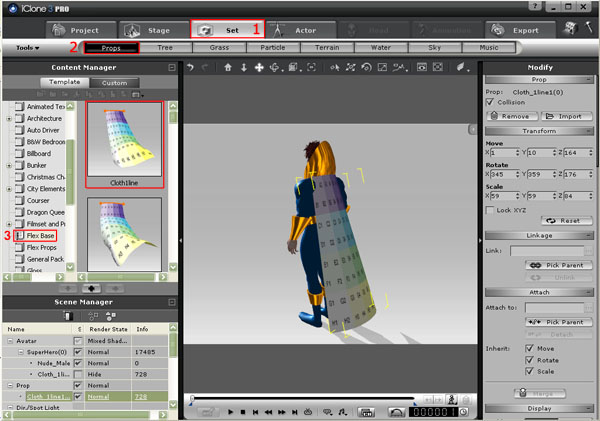
- Have the Flex Base selected. Go to prop's modify panel, click "Pick Parent" under the "Attach" section and pick a body part to attach.

- Now you can hit the "play" button, but the flex don't really move to the direction where I want it to be. That's fine. Just scroll down the modify panel and search "Flex Setting" under the Flex section.
![]()
Adjust the settings for the selected flex.

- The "Stiffness" defines the resistance of the Flex Props to deflection or deformation by an applied force. The higher the value, the more stiff the prop is and vice versa.
- The "Lift" is aerodynamic force that is perpendicular to the surface of the Flex props. Increasing the value may have the surface raise higher. If one side of the flexible surface is fixed, the Lift may influence the angle for it to fly.
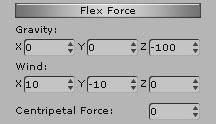
- The "Gravity" is the agency that gives objects weight. In iClone, this value may be manually set to go along the three axis. This value causes the Flex prop to accelerative move along the specific direction.
- The "Wind", however, influences the Flex prop to move along the specific direction in fixed speed.
- The "Centripetal Force" is the external force required to make a body follow a curved path. Hence centripetal force is a kinematics force requirement, not a particular kind of force. For a Flex prop, Centripetal Force is the force toward the fixed ends.
Please go to iClone3 Online Help for more information about Flex.
- Adjust the material color for the selected Flex under "Material & Texture Settings".

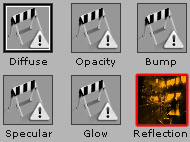
- Load a Reflection Map to have reflection effect.
- Apply a motion onto the Superman. Let's make the Superman fly.
Create G3 Character
- Modify Model
- Add Accessories to the Superhero
- Attach the Accessories to the Character
- Apply Material to the Character

