Revise the House
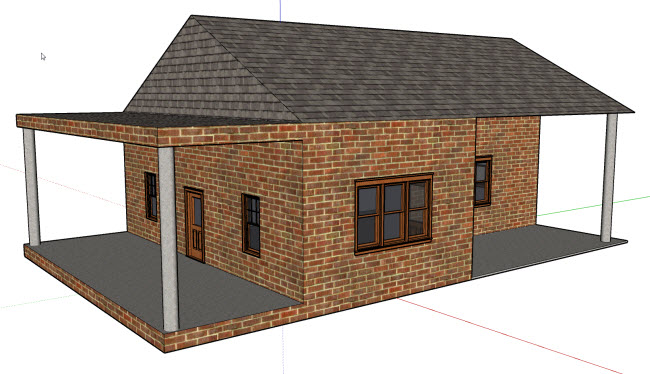
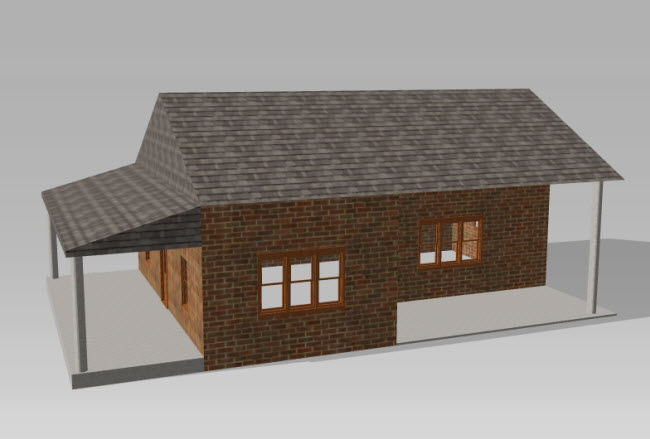
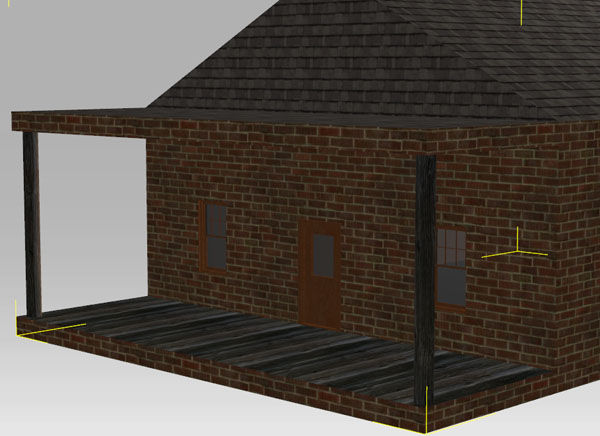
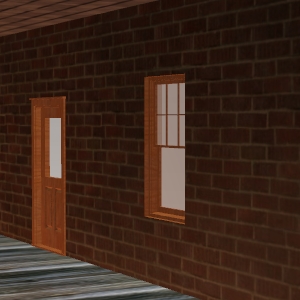
House as originally completed :
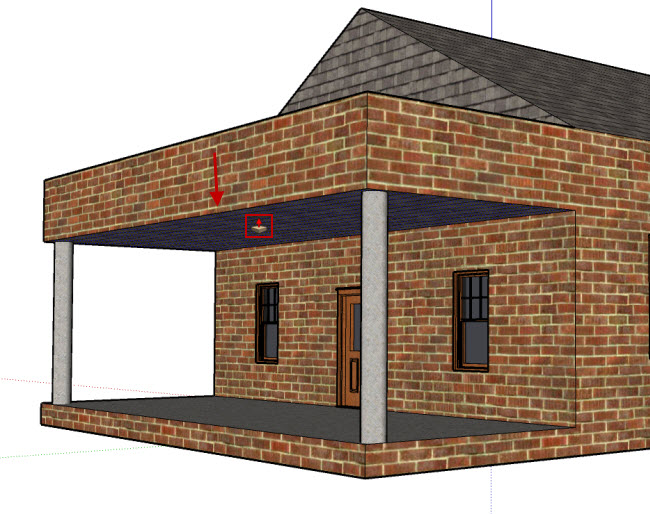
23. Revise the Porch roofline. Use the Push/Pull Tool to pull the bottom of the porch down.
24. Select the line on top of the porch:
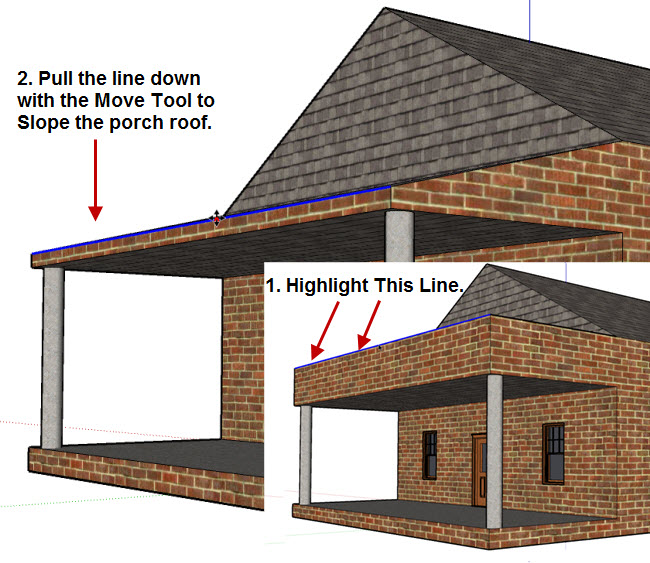
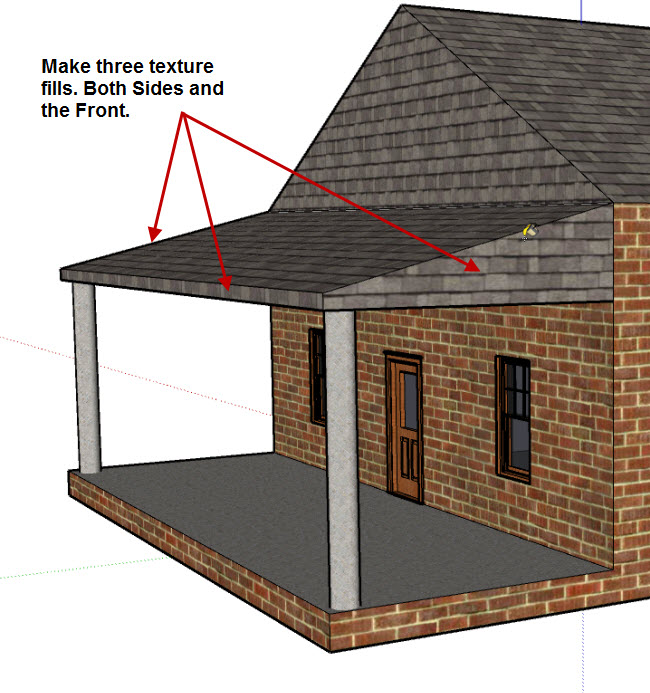
25. Use the Line Tool to section off the porch to use with another material other than the brick. Draw the same line on the other side of the porch too.
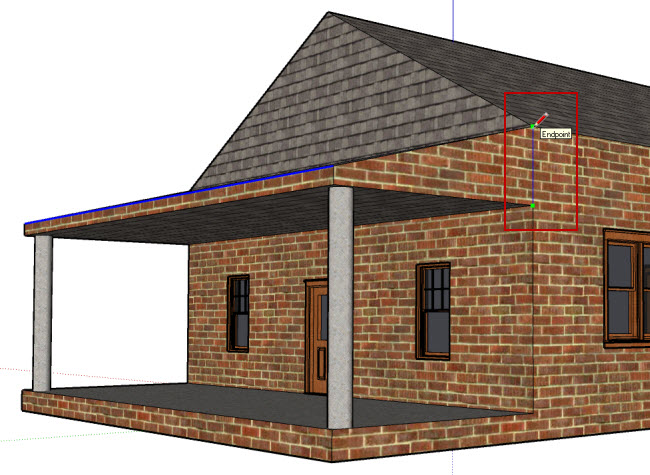
26. Use the Paint Bucket Tool to fill with the Roof material.
27. Mark off the bottom of the porch the same way:
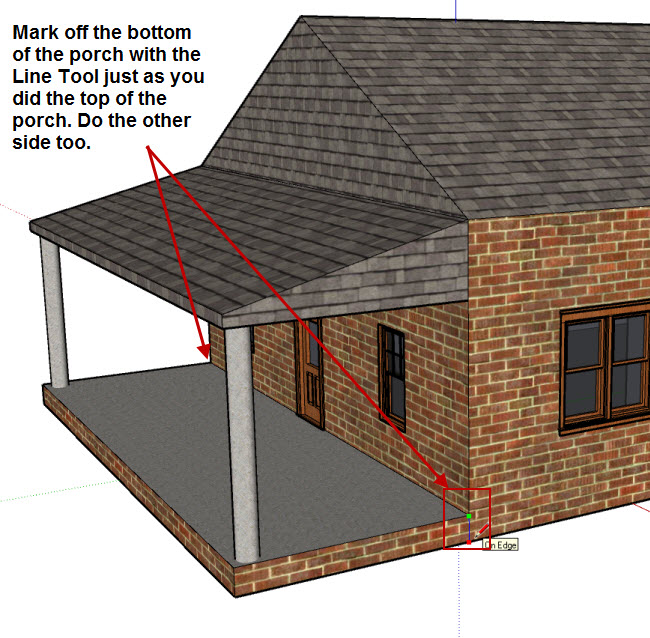
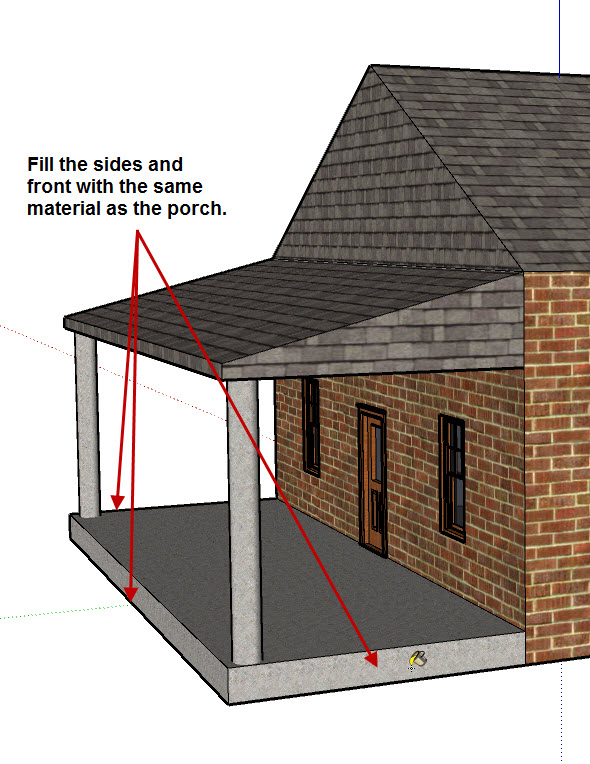
28. Fill with Porch material.
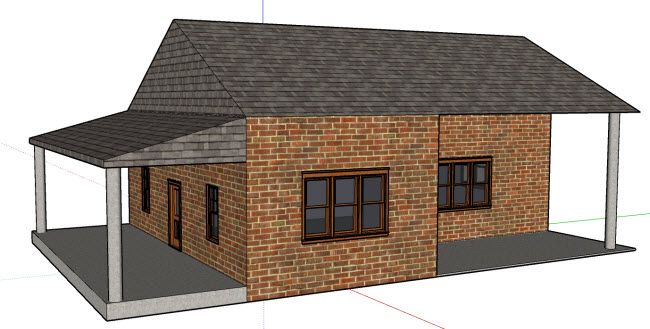
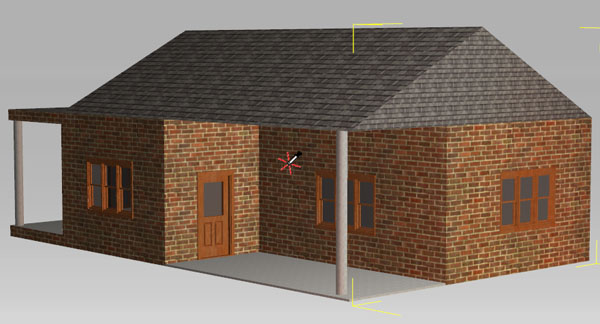
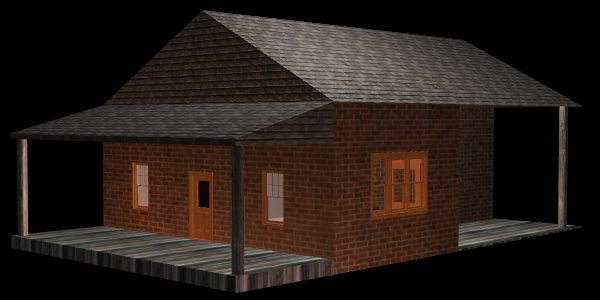
Revised House:
29. Save file by with the "Save" or "Save As" command.
General Introduction to Material Channels
1. Open in iClone.
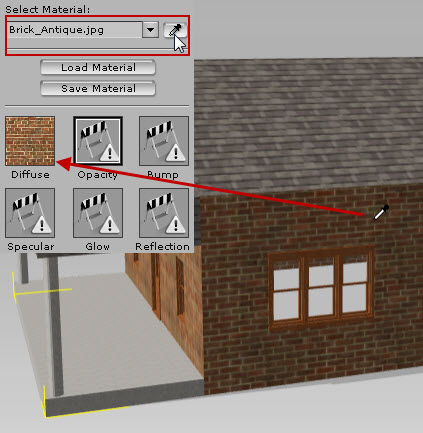
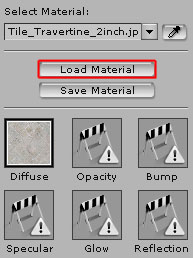
2. To change the size of the brick, in this case make it larger, you use the Material Selector Tool in iClone to select the material by clicking on the Material Selector Tool and then clicking on the texture you wish to work with. If the chosen material contains an opacity, bump, specular, glow or reflection map they will be shown also. In this case there is only the Diffuse map.
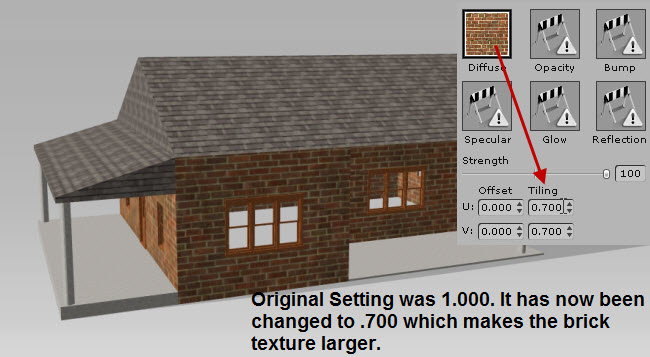
3. You can make the Brick large or smaller with the Tiling control.
Replace Material
We can easily use the Material Picker
![]() to pick
and to replace the material channel maps.
to pick
and to replace the material channel maps.
1. Have the house model selected.
2. Click the Material Picker
![]() and
click the floor that you want to replace. When you have successfully picked
the material. The diffuse channel changes to the current material selected.
and
click the floor that you want to replace. When you have successfully picked
the material. The diffuse channel changes to the current material selected.
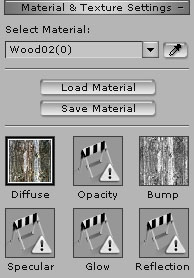
3. Click "Load Material" to replace the material.
4. Open "Wood02" in the "Material Lib" list.

5. Now the material is applied to the diffuse channel.
6. Adjust the tilt controls to scale the material map.
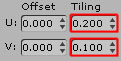
7. Floor after adjustments.
Diffuse Map to Bump Map in iClone3
1. Pick Brick material and select "Diffuse" map channel.

2. Click the "Save" button
![]() to
save the texture.
to
save the texture.
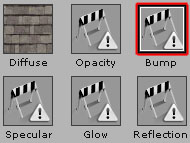
3. Click the "Bump" map channel and "Open"
![]() the
diffuse texture.
the
diffuse texture.
 |
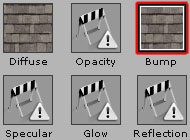 |
| Bump Channel Selected | Bump Texture Loaded |
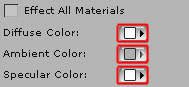
4. Adjust material colors and
specular value to enhance the bump effect.
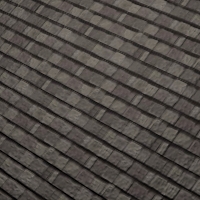
This is how material color works:
- Diffuse Color: The Diffuse color defines the overall color that is reflected from an object when the light hits it.
 |
 |
| Lighter | Darker |
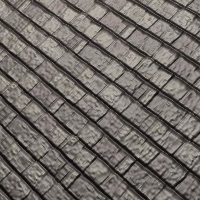
- Ambient Color: The Ambient color refer to the illumination surrounding a subject or scene.
 |
 |
| Lighter | Darker |
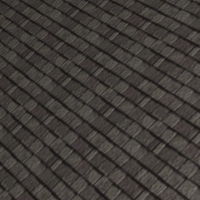
- Specular Color: The Specular color defines the color of only the highlighted area of an object. Therefore, you must decrease the Diffuse color to see the effect.
 |
 |
| Darker | Lighter |
To emphasis the bump effect, choose dark grey for Ambient Color,
and increase Specular strength a little bit
![]() .
.
|
|
|
| 0 | 100 |
5. Another way to modify the bumpiness is to adjust the contrast of the bump map.
Adjust Contrast:
![]() .
.
 |
 |
 |
| Contrast = -100 | Contrast = 0 | Contrast = 100 |
For more information of how to adjust the parameters
of the selected material.
Please refer to the
iClone3 Online Help.
Create Bump Map with Image Editor
This session gives you the idea on how to make a bump map from the existing diffuse map.
1. Click the Material Picker
![]() and
select the brick material of the house model.
and
select the brick material of the house model.
2. Click "Launch"
![]() to
open the diffuse map in the image editor (e.g. Photoshop) to convert into a bump map.
to
open the diffuse map in the image editor (e.g. Photoshop) to convert into a bump map.

Do the following editing:
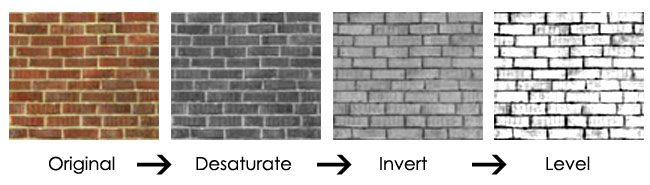
Save the texture as a new image file.
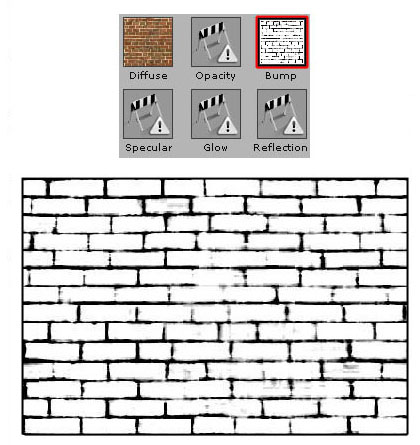
3. To apply the bump map to the house. You simply double-click the "Bump" texture channel and open the image you just modified.
4. Keep the bump texture channel selected and adjust the
strength ![]() of the bump texture channel.
of the bump texture channel.
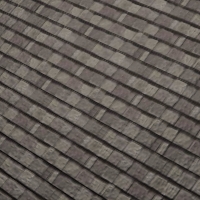
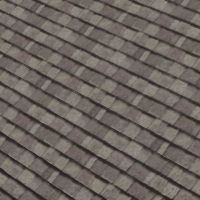
Here is the comparison between the two materials, before and after adding the
bump map.
 |
 |
| Diffuse Only | Diffuse and Bump |
5. Check the house I have modified.
Create Simple Model - SketchUp