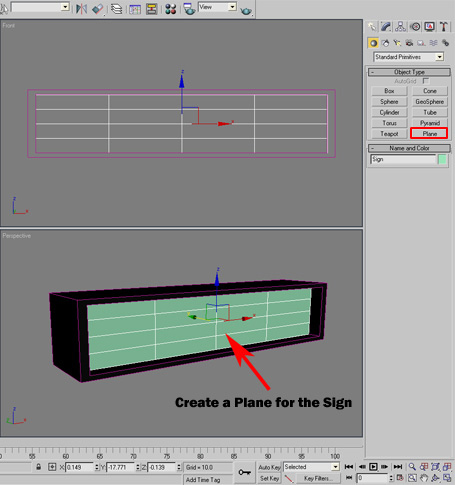
Create a Plane for the Animated UV Maps
- Next up we need to create a plane for the sign graphics. This plane will be sign that contains the animated UV maps and mask. iClone 3 users will be able to change the graphics on the plane and the mask type if so desired.
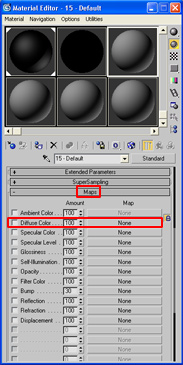
- Go to the "Maps" section for "Diffuse Color" in Material Editor.
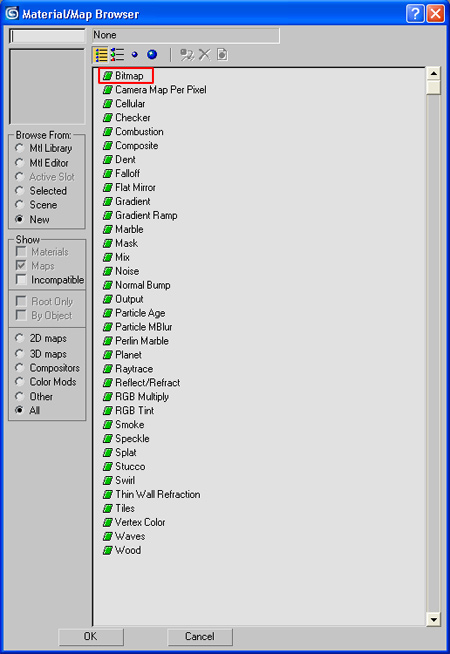
- Select "Bitmaps" in the Material Browser which pops up a dialog allowing you to browse to the map of your choice.
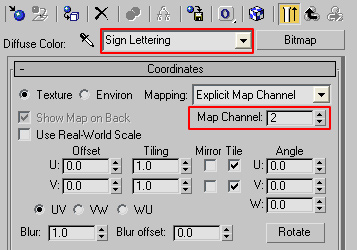
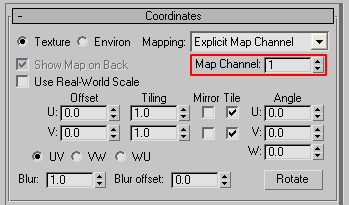
- Change the material name to "Sign Lettering" or something similar so it can be easily identified in iClone for alteration. Change the "Map Channel" to 2.
- After selecting your diffuse map you will also see the Glossiness Map and Opacity Map in the Material Editor below the Diffuse Color . Click the buttons next to them and go through the same process to load both maps but leave them on Map Channel 1.
- The same material slot will hold the Diffuse map, Glossiness Map and the Opacity map.
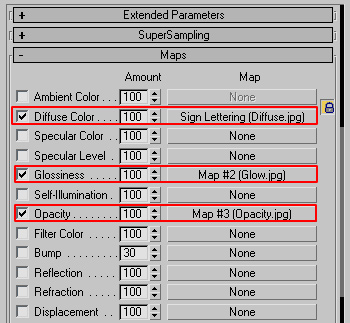
In 3ds Max, the term glossiness stands for glow in iClone.
- Below is an example of the "Sign Map". Right click and "Save Picture As" to download. (Created in Photoshop)

- Below is an example of the "Sign Opacity Mask". Right click and "Save Picture As" to download. (Created in Photoshop)
