Creating a Magic Circle - Setup Material Channel In this whitepaper we will use multiple uv map modifiers along with a Free Form Deformation modifier (FFD 2X2) to create a magic circle with animated effects.
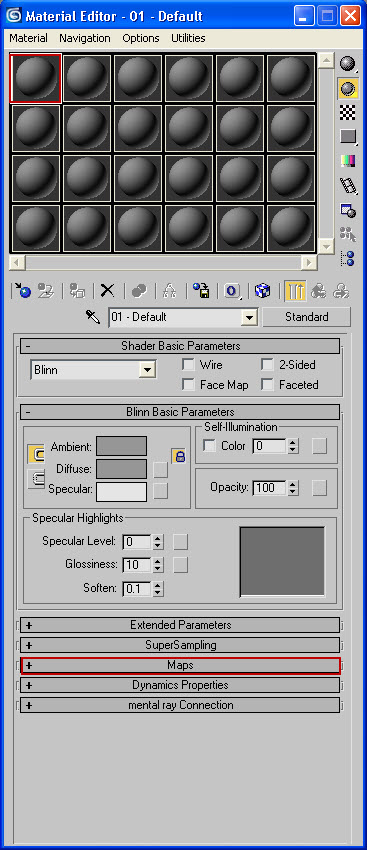
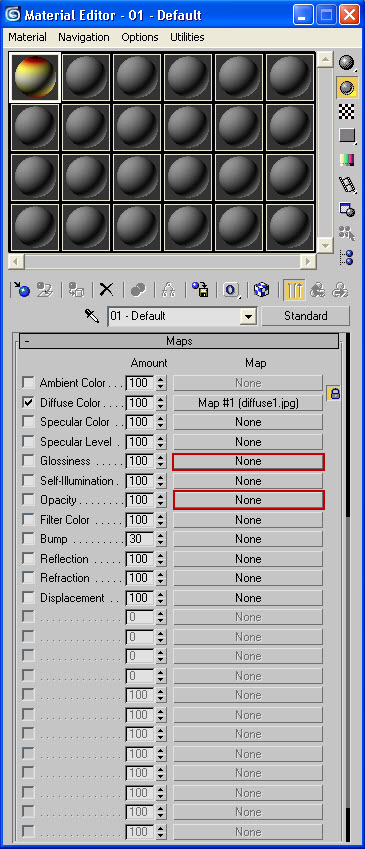
1. First we will set up our material in the Material Editor. In Max press M to bring up the Material Editor, select a slot then click on Maps:
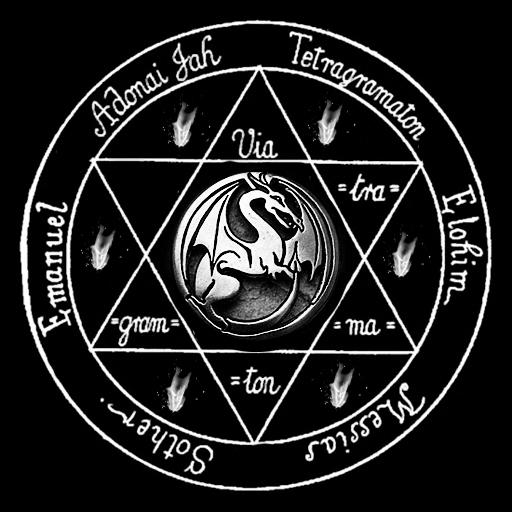
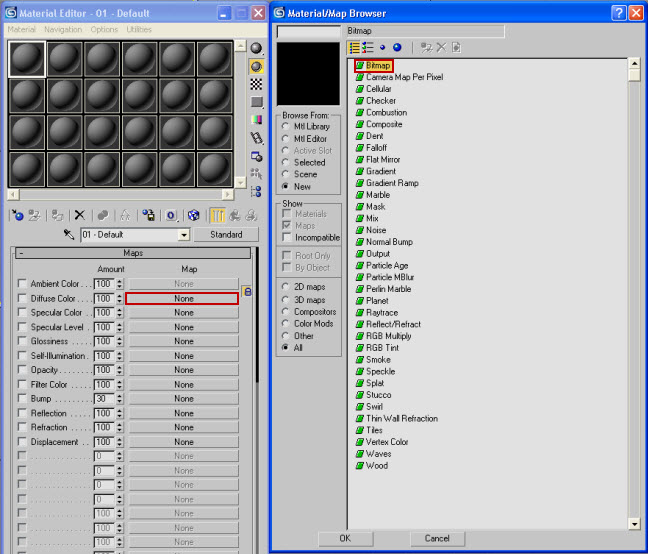
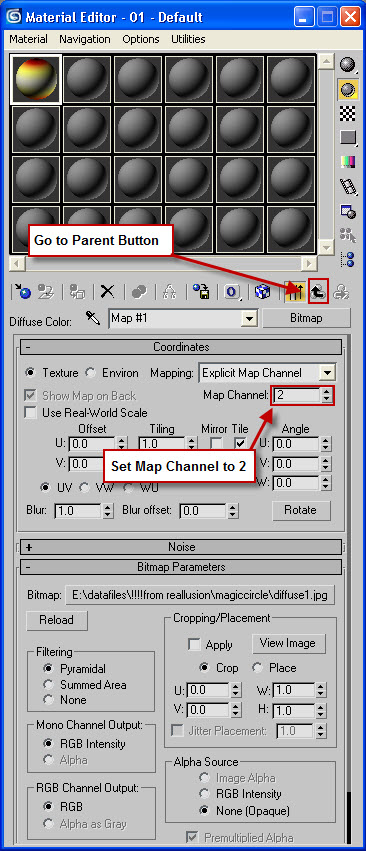
2 Click on Diffuse Color > Bitmap and find the diffuse map you wish to use or the diffuse map provided with this whitepaper.
3. Set the Map Channel to 2 for Diffuse Color Map. To go back to the map slot select GO TO PARENT button:
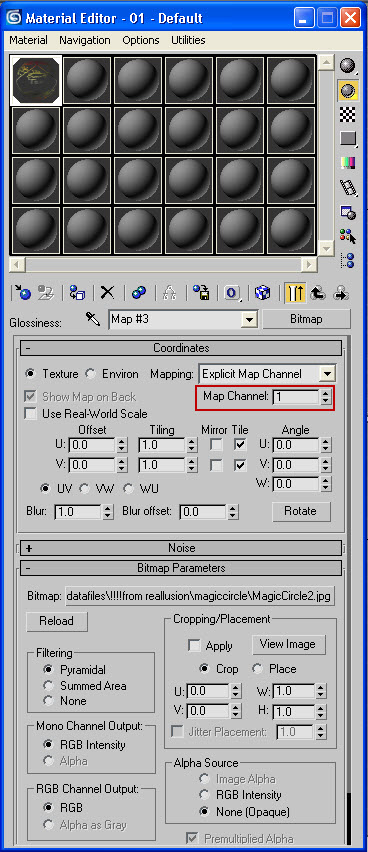
4. Follow the same steps for the Glossiness and Opacity buttons loading the map of your choice or the map provided with this whitepaper and set the CHANNEL to 1 for each of these maps:
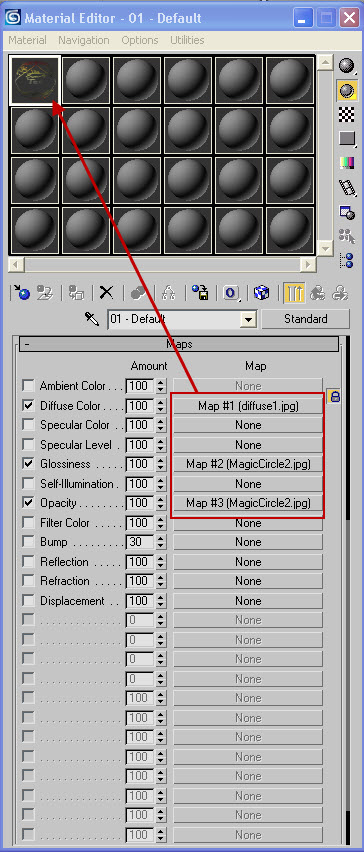
You will end up with this result with the Diffuse Color set to Channel 2 and the Glossiness and Opacity set to Channel 1. It very important that you set the channels correctly.
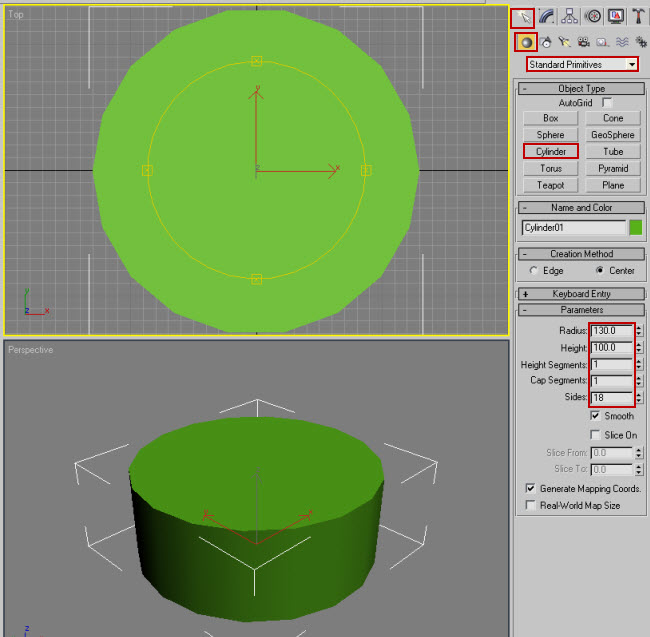
5. Create a cylinder... for this example 130 X 100 with 1 height, 1 width and 18 sides :
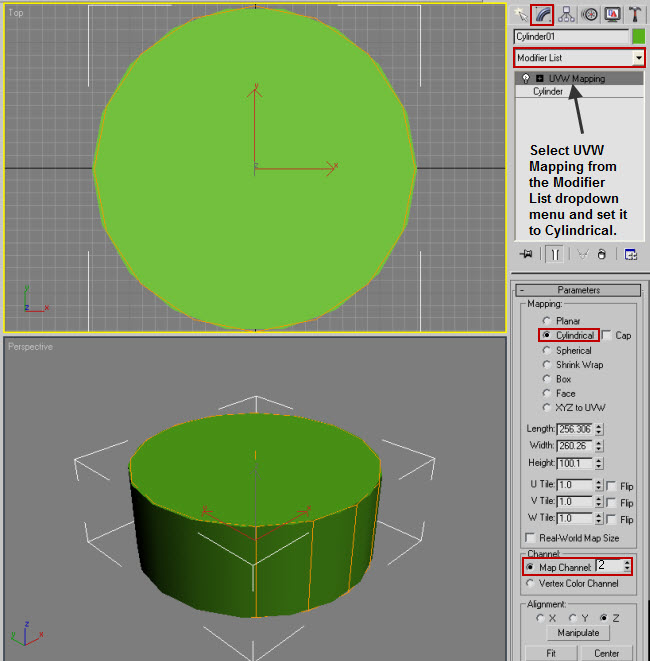
6. Go to the Modify tab and add a UVW Mapping modifier and set to CYLINDRICAL. Set Map channel to 2:
Creating a Magic Circle
|
||||||