To make an
avatar go interact with something, for example to go grab a soda from the
refrigerator, then before the avatar starts to open the door and grab the soda,
you first need to tell the avatar move toward the refrigerator, stand in the
right spot, so that the avatar can precisely play the open door animation. But
the problem is- how to move the avatar to the refrigerator from any point in the
scene and make him go to the correct position to act the animation? For example,
we do not want our avatar to go behind, to the side, on top of or under the
refrigerator to open the door when we want him to stand in front.
In this tutorial we will focus on how we can build up a scene in iClone with
three target locations, and how to add operate commands which can tell the actor
go to specified locations. This is the very fundamental of operate command.
To set up the target locations, we first need to arrange some dummy props to
represent them:
- Create a parent object, use this
node to store the operate command later
- Attach 3 child nodes
(3 separate
props attached to the parent prop), and give them proper names
- Save the project
- Integration of AML Script with
the Prop
After you are done with the prop settings in iClone, you
will have something similar to the image below, where three child props are
attached to the parent in the center.

The operate command is stored in the parent node, the three
sub-node attached are the PosHelper to help indicate the target location.
Through the operate command, you can tell the actor to move to a specific
location represented by the PosHelper.
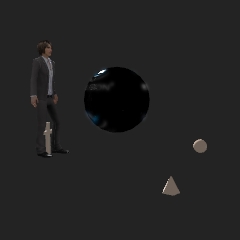
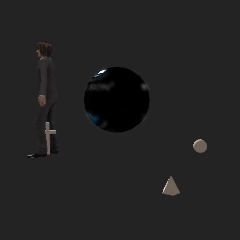
Please note that the character's entry direction is determined by the original
facing of the child props. We also call these props as PositionHelper (PosHelper).
 |
 |
| The character is facing relative to
the parent prop. |
When I rotate the cross, the character is turning
away from the parent prop. |
- Launch iClone3. Set the points and define the points
where the character can walk to.
- Click "Set".
- Select "Prop".
- Add any of the 3D Blocks to the scene. I will
define this prop as the parent.
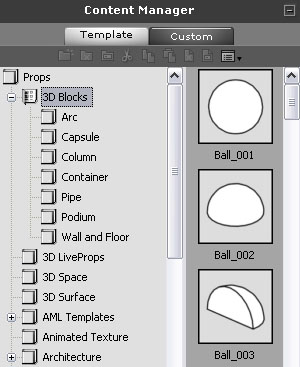
- You can give this prop a name. I will name it "Avatar_posHelper".

- Add a new prop to the scene by going to the Set >
Prop
again.
- Rename the prop. Make sure you do remember this
naming. I will name it "pos_Helper Cross".
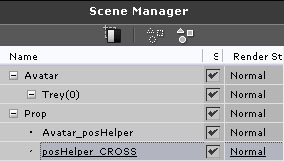
- Attach the prop to the parent. Go to the Props modify
panel under the attach section, select "Pick Parent" and pick the
parent (Avatar_posHelper).
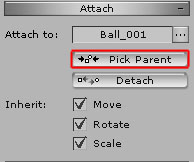
- Now the
prop (posHelper_CROSS) is the child of the parent.

- Add another prop to the scene. Rename it as "pos_Helper
CONE".

- Attach it to the parent.

- Add another prop to the scene. Rename it as "pos_Helper
Ball".

- Now all three props are the children of the
parent.

- Save the prop to the custom folder. Select the parent and
select the "Custom" tab in the Content Manager. Click add button.
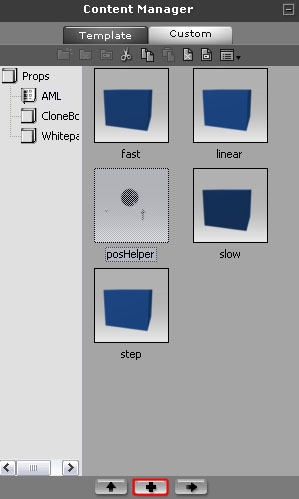
AML Script
Combine both of the prop and the AML script is the most
important step to the most successful ending to this tutorial. If you did not do
this you won't be able to direct your character in iClone3.
- Launch AML Script Editor.
- Select operate command from the command drop down
list. Click "Add".

- Change the command name to "Go_To_posHelper_CROSS".
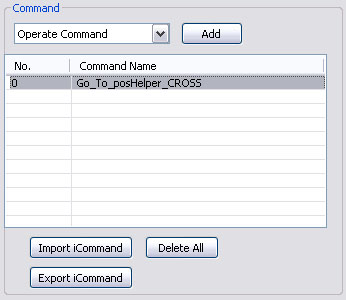
- Under the attribute section check "Lock Move".
When this is active it denies other move commands from interrupting while
the selected move is in progress.

- Check "Right Menu" for the command to show in
the right-click menu.
- Define the hotkey to "DefStart". This sets the
hotkey for you to Ctrl-Click in iClone3. We will talk about this a little
more later.

- In the TriggerMethod section. Select
PosHelper
and set the hierarchy to the parent node. How
do we set this? Since we have attached the child to the parent. We will
define the parent as the symbol "$" and follow by the child's name.
So now how do we set the naming for the posHelper_CROSS?
Place the parent "$" and place the name of the selected child "posHelper_CROSS".
The complete format looks like "$.posHelper_CROSS".

- Now that the point is set. Select
Operate Command and click "Add".
- Set the command for "posHelper_CONE".

- Check "Lock Move" and "Right
Menu".
- For the
second and third Operate Command do not add HotKey attributes to the
selected command. Since Operate's hot key command can only be used once to
the selected operate pack.

- Follow step 8 to set the posHelper
for the "posHelper_CONE".
- Add one more operate command for "posHelper_BALL".
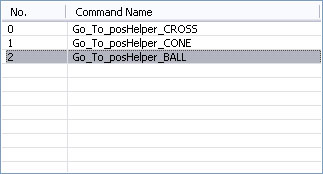
- Now the complete AML script
contains 3 operate commands.
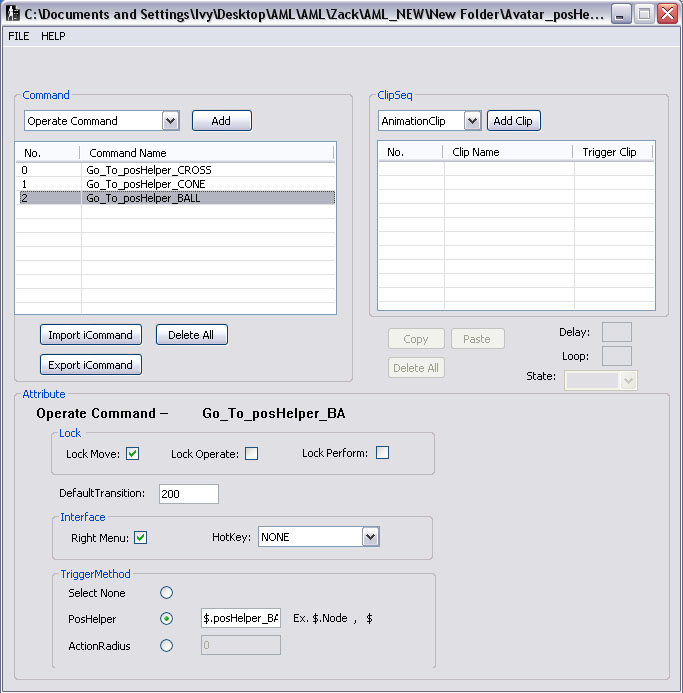
- Import
the script to the parent node of the attached prop you created in iClone.
Then you can select you character, then select the parent prop and
right-click and choose any of the child nodes and you character will go to
that position.
|


